July 26, 2011
Anniversary Dinner
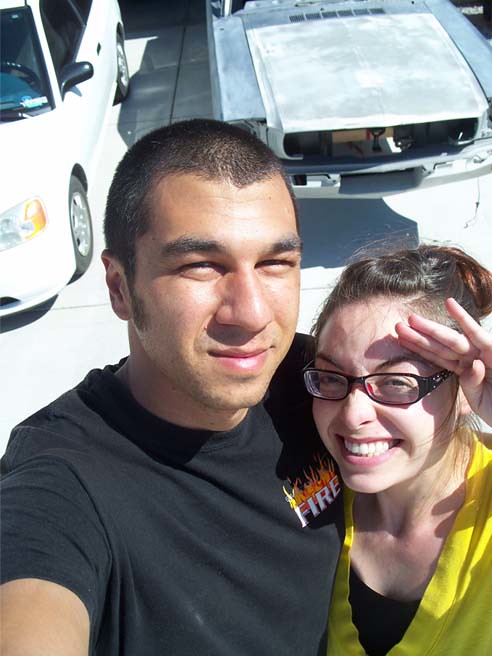
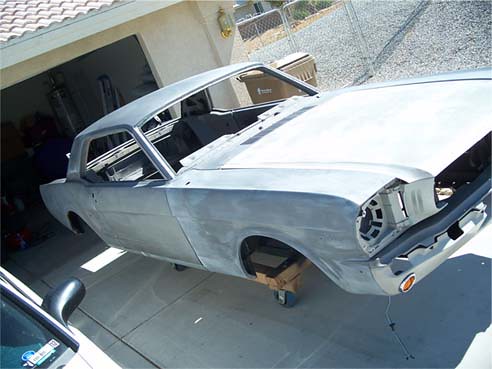
Since hubby had to work on our two-year wedding anniversary we celebrated on our days off together, July 24th & 25th. I decided to make dinner at home instead of going out and celebrating at a restaurant, since we’re already spending a pretty penny. Hubby restoring his 1996 Ford Mustang and me by going on vacation to San Francisco in a week.
My hubby’s thing is classic cars and though hubby tries to explain car things to me, I have no idea what he is talking about. I do enjoy going to classic car shows and looking at all the pretty cars though. Something I learned to love from my father. Hubby took his Mustang yesterday to the paint shop to get painted and I’m eagerly waiting until it is completely done. Then we can enter it in car shows! The Mustang is very sentimental part of my life. Hubby took me on dates in it and I learned how to drive in it.
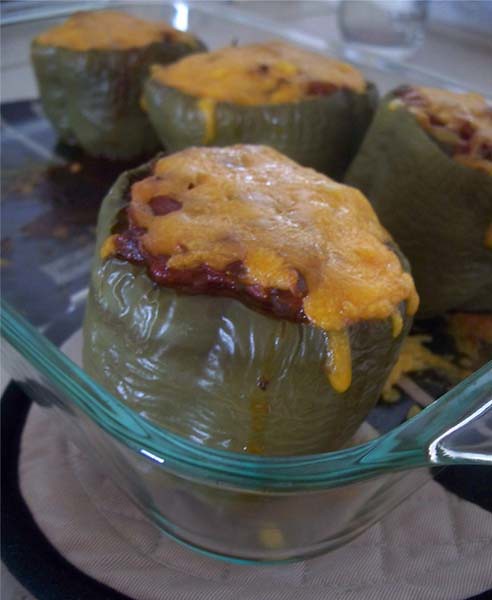
Back to my dinner plans. Well, first of all I am not a cooker. I don’t like to cook. I don’t like the idea of being in the kitchen for a long time trying to prepare a meal and in the end doesn’t turn out as expected. But I went ahead and gave it a try. I got a Stuffed Pepper recipe for About.com and it turned out…delicious! Yes, I was surprised too! And, it wasn’t that difficult. My hubby was very impressed and proud, which only encouraged me to go on. For dessert I made banana bread. My cooking was the best anniversary gift for hubby because that meant less cooking for him. Maybe.
I’m giving this cooking thing a second chance. When hubby and I have days off together I’m going to (try to) make a delicious meal. Wish me luck!
July 23, 2011
Do you know what today is?
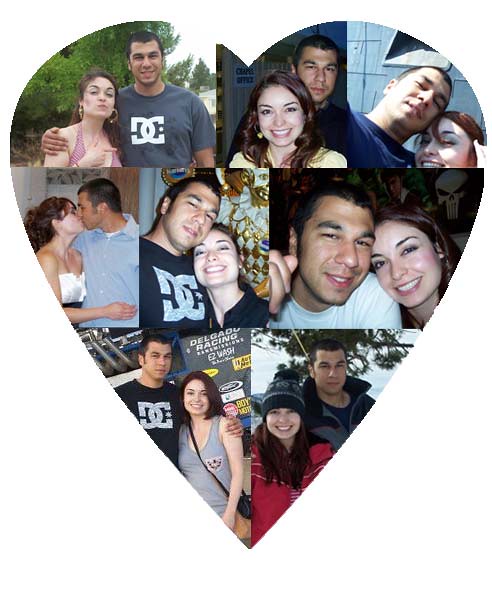
It's my anniversary! Today my wonderful husband and I will be married for two years! We met when we were 18 years old and there is no other person that I would of wanted to share the journey to adulthood with. He is my second half, my best friend.
Happy Anniversary Babe!
I love you!
July 22, 2011
Welcome Cross Stitchers
I had mentioned in my previous post that I wanted to design a button for people like myself who like to cross-stitch. Here it is…
It says, “Cross Stitching Addict.” I hope you like it.
I have been going a little over board buying cross-stitching kits on-line for family gifts. I just truly love cross-stitching. The process relaxes me, especially after a long day at work. I’ve fallen in love with making my cross stitching into wearable jewelry, since I finished making that Creative Circle initial brooch/charm. And since Creative Circle jewelry kits are difficult to find I did discover an awesome tutorial on how to cross stitch a pendant on Craftzine blog. Click here for the tutorial.
I can’t wait to start making my very own cross-stitch pendants but I need to get my family cross-stitching gifts done first.
It says, “Cross Stitching Addict.” I hope you like it.
I have been going a little over board buying cross-stitching kits on-line for family gifts. I just truly love cross-stitching. The process relaxes me, especially after a long day at work. I’ve fallen in love with making my cross stitching into wearable jewelry, since I finished making that Creative Circle initial brooch/charm. And since Creative Circle jewelry kits are difficult to find I did discover an awesome tutorial on how to cross stitch a pendant on Craftzine blog. Click here for the tutorial.
I can’t wait to start making my very own cross-stitch pendants but I need to get my family cross-stitching gifts done first.
July 17, 2011
Cross Stitch Addiction
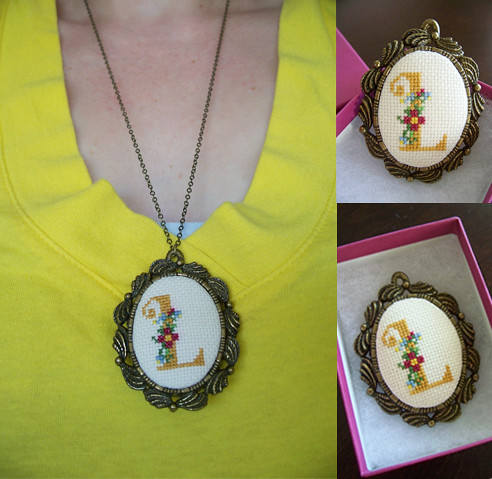
I just completed my first cross-stitch project! It’s an initial brooch/charm with my initial, L, which I’ve decided to use as a necklace. I purchased the kit on Etsy from Classy Stitches; it is a Creative Circle kit from the 1980’s. The Creative Circle use to be like the Tupperware parties of today, except for buying containers people bought Creative Circle kits and learned how to cross-stitch. How cool is that! Unfortunately, The Creative Circle is no longer in business, but if you would like to read more about them click here.
My kit came with a graph of the entire alphabet for any initial and I also have lots of embroidery floss left over if I want to make another one. I’ll just have to buy another frame. The directions were very easy to follow too. Now, that I’m addicted to cross stitching I need to purchase mild detergent when washing the cloth because it looks like when I washed mine it bleed slighting onto the background.
I can’t wait to start on my next cross-stitch project. I actually want to start a cross-stitch club among the craft blog community. Let me know if you are interested. I will be creating a button for it soon.
July 13, 2011
DIY: Card Tags
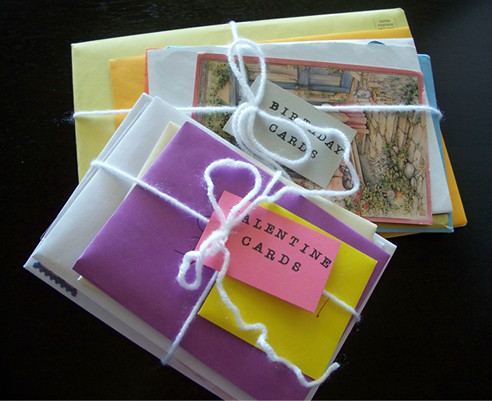
Card tags are an easy way to keep your cards organized, based on special events.
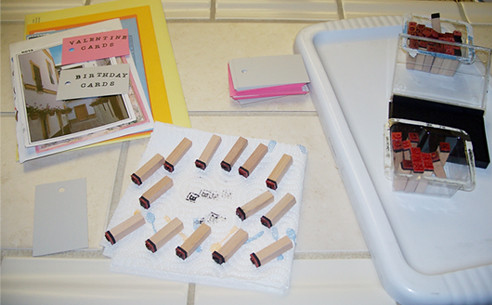
Supplies:
Blank tags (or you can make your own),
Stamps,
Ink,
Yarn
Directions:
1. Stamp your tags with alphabet blocks to spell what bundle of cards you will be grouping. I.e. Birthdays cards, pen pal letters, etc.
2. Let ink dry then grab your yarn, tie it around the bundle of cards like a gift, and loop the two pieces of yarn into the hole of your tag and make a bow.
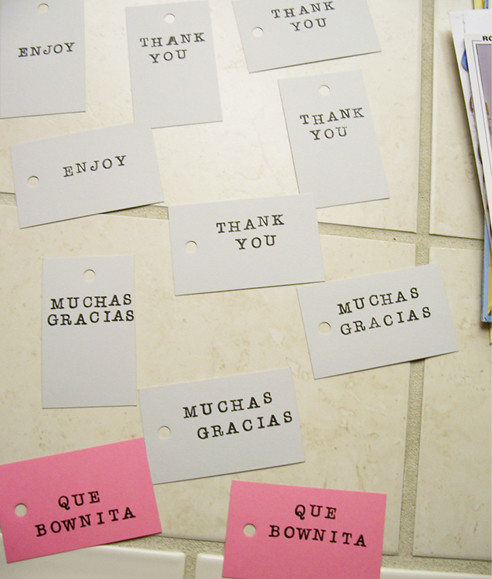
I also made some thank you tags to add to my sold Etsy items.
Subscribe to:
Posts (Atom)