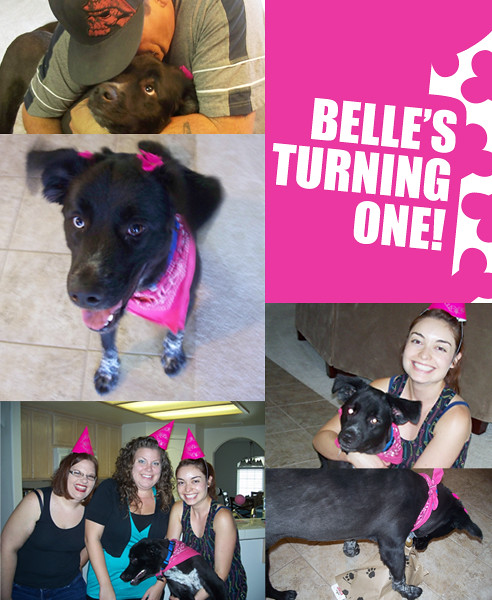
Showing posts with label Belle's Party. Show all posts

November 13, 2011

Dog Party

In September, I threw Belle her first (seven in dog years) birthday party.
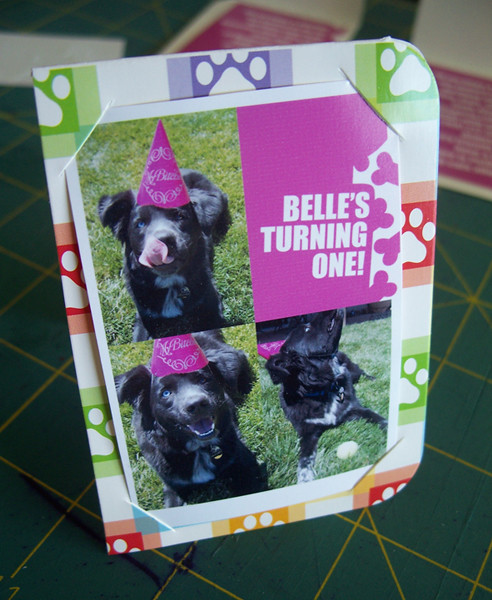
It was suppose to be at the park but it was very windy that day and it was moved to my house instead. I made custom birthday invitations for her party. Click here to see the invitations.

Things I made to make her party a memorable one:
Balloons, hats, napkins, and plates that said, “Bitch Party” or “My Bitches,”
Dog trivia on Belle,
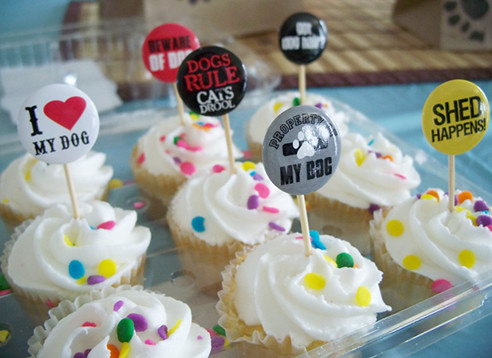
Peanut butter dog cupcakes,
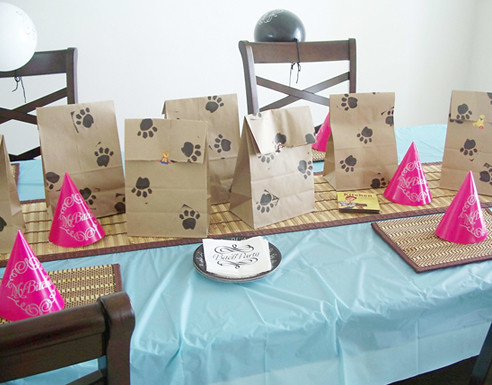
Doggie goody bags for guests to take back to their dogs,
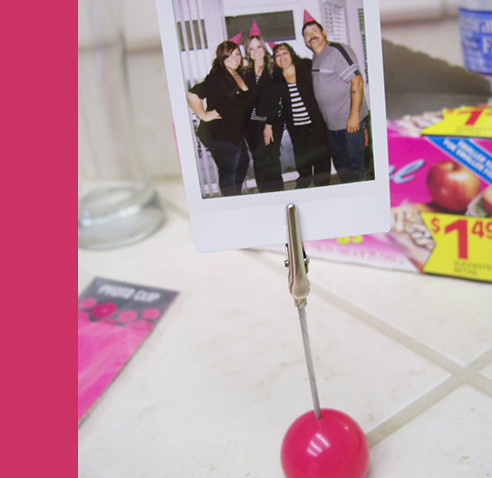
 Mini Polaroid with photo holder for prizes,
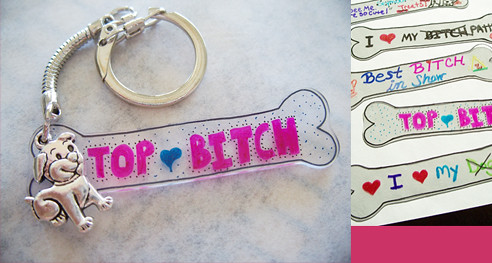
Custom dog keychain party favors,
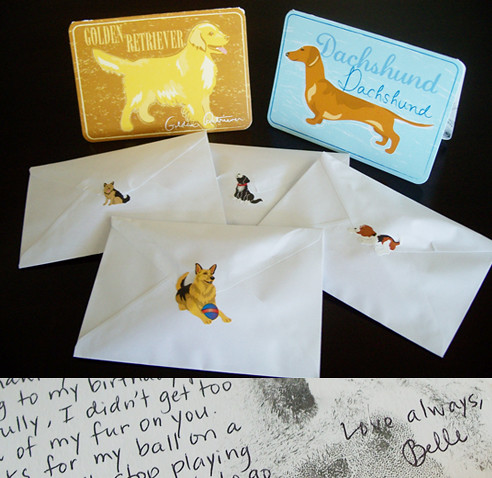
 And thank you cards with Belle’s signature (her paw print).

Belle and her guests had a great time. Belle even showed them the tricks she knows how to do. She got lots of toys and couldn’t decide which one to play with. She would pick one up then drop it to get another one. She looked extremely happy that I’m tempted to throw her another one.

I’ll be doing a DIY for doggie goody bags, pin-back cupcake toppers, and custom dog keychain souvenirs soon.

Have you ever thrown a party for your pet?

August 20, 2011

DIY: Mini Dog Party Invites


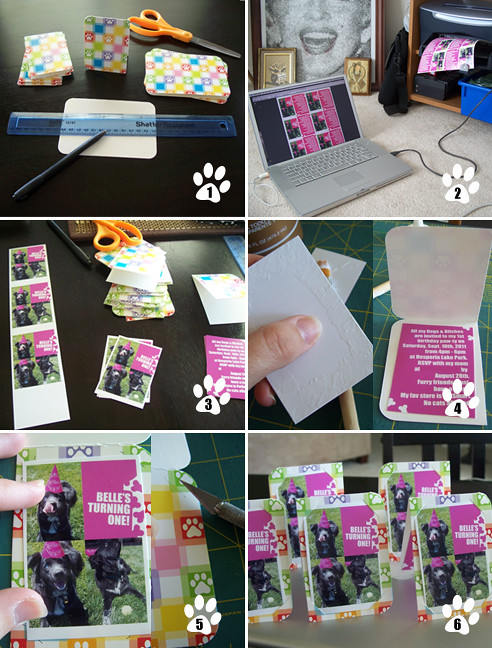
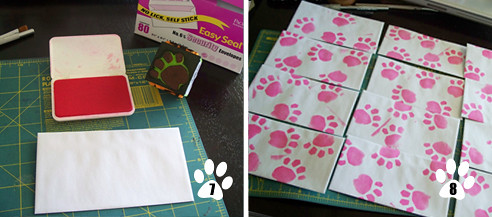
I’m throwing Belle her first birthday paw-ty at the park and I made these cute invitations. They’re easy to make and they work as greeting cards too. Supplies I used: card stock, printer, paint brush, tacky glue, scissors, exacto knife, white mailing envelopes, dog paw stamp and ink. Ready, lets go! 1. Cut your card stock in half. 2. Print out the images you would like for the front and inside of your invites. I used Photoshop to design my images but you use a regular photo and a word program for the inside text. 3. Cut your images. 4. Use the paintbrush to put glue on the back of your text cutout and it glue down onto the inside of your invite. 5. Position your photo cutout the way you would like it to look on the front of your invite. Mark the card stock with your exacto knife on the outer corners of the photo to see where you will be making your insert slits. 6. Remove photo cutout and make your insert slits by connecting each corner marked with your exacto knife. Insert photo. 7. Grab your envelopes, stamp, and ink and stamp away on your envelopes!

I decided on mini invites when I realized I didn’t have enough cards for all my guests. It worked out because the mini invites are adorable, different, and I saved on ink.
Related Posts Plugin for WordPress, Blogger...