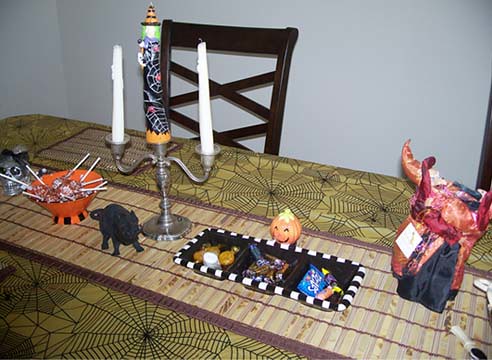
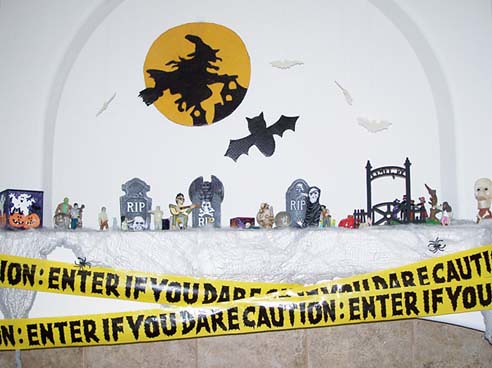
I’m expecting my second baby in October and I don’t feel like busting out all my Halloween decorations this year; I own more Halloween decorations than Christmas ones. The idea of putting a bunch of Halloween decorations away with a newborn and toddler sounds like a bad idea. However, I did put a few decorations up that I had stored in the house, not the garage, and decided to purchase some inexpensive Halloween kits for my daughter, Lil, instead. I love kits because they included all the supplies needed to create the craft. We started making Halloween crafts last month, since I don’t know how I will be feeling the closer my due date gets.

The first Halloween kit I purchased was this Black Cat Character Jar Kit from Target. I found it in the dollar section at Target, which I hate because I always get in trouble in those aisles. I cant resist the deals and cute stuff! I purchased the kit for $3. They also have a pumpkin, monster, mummy, and sugar skull jar kit too. Lil picked the cat one and I got the sugar skull for myself.


The instructions provided were very easy to follow. This is kit ended up being a two day project since we had to wait for the black paint to dry completely before adding the cat face stickers. Lil added the cat ears first (as the jar soaked in warm water to remove the label), then painted the jar, and stuck the cat face stickers the next day.

I must admit while helping Lil with her cat jar kit, I was getting a bit frustrated because she wouldn’t listen and was putting stickers wherever she wanted. It wasn’t turning out to look like the cat jar in the picture. For example, the cat’s ears weren’t positioned right. Obviously, I had to remind myself she’s just a toddler. Most importantly, I realized by letting her do her own thing it made her cat jar more unique. I absolutely love how one of the cat’s eyes is crocked; it gives the cat character. Doing crafts with Lil has taught me to be patient and forced me to move perfectionism gradually to the side.
Lil loves making crafts. I have been making art with Lil from the very beginning, with footprint art. I’ve always known that not only is being creative with my kid fun but it is also beneficial. I just didn’t know exactly in which way until I read “Why Art and Creativity Are Important” on Parents.com. I was thrilled to learn, Lil was improving her fine motor skills just by manipulating the paintbrush when painting her jar black. I also liked reading that by letting Lil do her own thing, putting the cat face stickers were she wanted on the jar, she was reaping big rewards. Creating art and learning new nursery rhyme songs helps boost Lil’s self-confidence. Every time her dad comes home from work, she can’t help but show off her new creation or sing the new song she learned.
Currently, Lil’s cat jar kit sits on a table, in our small living room area, along with other Halloween decorations and Halloween picture frames. I gave Lil a LED tea light candle to put inside her cat jar since she didn’t over the jar completely with black paint. Her cat jar looks awesome at night, as the light shines through. She enjoyed making the Cat Character Jar Kit so much; she asked me if I could get her the monster jar kit and get her dad the pumpkin one at Target. The following week, I did.
Hopefully, if time permits I can share the rest of the Halloween kits Lil and I have completed.