Showing posts with label Halloween. Show all posts

September 26, 2017

Halloween Crafts: Fun Toddler Cards

I helped Lil make her first Halloween cards and they came out so stinking cute. I just had to share them with you and how we made one - the cat/pumpkin card. Yeah, I know, another toddler, mother assisted, tutorial. I helped Lil make three cards. We made them all pretty much the same way.

Supplies

Scissors,
Recycled Stickers (What’s left of the sticker sheet after you remove the sticker),
Crayons,
Googly Eyes (Everything is more fun with google eyes),
Blank Card (I got Lil a 50 pack of blank cards at Michael’s, last year, to make footprint and handprint birthday cards),
Glue Stick,
Stamp Markers (Purchased at Target’s dollar aisle). 


1) Have your toddler stamp the blank card first. Lil couldn’t get a good stamped image from the stamp markers so I had to help her. They’re not the best stamp markers because they are small but they do the trick for a dollar.

2) Cut around the recycled stickers and place them on the card. I cut a group of pumpkin recycled stickers. I showed Lil how to make a pumpkin face on one of the pumpkins. I was thrilled to watch her draw her first smiley faces on the pumpkins. She added stems and a leaf to each pumpkin. Then, I let Lil doodle the card. I also taught her how to draw a bat. She drew two bats, flying near a full yellow moon she doodled. 


3) Embellish with regular stickers. I added a cat sticker on the pumpkin of Lil’s choice.


4) Have your toddler help glue the google eyes, with the glue stick. Lil has gotten better at gluing small objects because she uses a glue stick regularly, when making crafts at Preschool Storytime, at the library.

I’m sorry for not providing pictures with each step. I wasn’t planning on making a tutorial with these cards, since it was an out of the blue (totally unplanned) Halloween craft. I had so much fun helping and watching Lil make the cards; I had to share our process with you, that way you could make them by yourself or with a little artist too. 


I was going to give the card with the cat and pumpkins to a friend but I decided to keep it. Come on, the card has Lil’s first drawn smiley faces and bats. I couldn’t bare to part with it. I had Lil make another card, the one with the spider, for my friend instead. Lil made these two cards a few weeks ago. 


We have been making many Halloween themed crafts lately; Lil keeps asking me almost everyday what Halloween crafts we are going to do next. On Sunday, Lil decided she wanted to craft again before bedtime. I helped her make the candy/ghost card pictured above. Yes, I’ve created a little craft monster! 

If you missed last week's, Halloween craft post, click HERE to check it out. 


September 19, 2017

Halloween Crafts: Cat Character Jar Kit

I’m expecting my second baby in October and I don’t feel like busting out all my Halloween decorations this year; I own more Halloween decorations than Christmas ones. The idea of putting a bunch of Halloween decorations away with a newborn and toddler sounds like a bad idea. However, I did put a few decorations up that I had stored in the house, not the garage, and decided to purchase some inexpensive Halloween kits for my daughter, Lil, instead. I love kits because they included all the supplies needed to create the craft. We started making Halloween crafts last month, since I don’t know how I will be feeling the closer my due date gets. 


The first Halloween kit I purchased was this Black Cat Character Jar Kit from Target. I found it in the dollar section at Target, which I hate because I always get in trouble in those aisles. I cant resist the deals and cute stuff! I purchased the kit for $3. They also have a pumpkin, monster, mummy, and sugar skull jar kit too. Lil picked the cat one and I got the sugar skull for myself.


The instructions provided were very easy to follow. This is kit ended up being a two day project since we had to wait for the black paint to dry completely before adding the cat face stickers. Lil added the cat ears first (as the jar soaked in warm water to remove the label), then painted the jar, and stuck the cat face stickers the next day.


I must admit while helping Lil with her cat jar kit, I was getting a bit frustrated because she wouldn’t listen and was putting stickers wherever she wanted. It wasn’t turning out to look like the cat jar in the picture. For example, the cat’s ears weren’t positioned right. Obviously, I had to remind myself she’s just a toddler. Most importantly, I realized by letting her do her own thing it made her cat jar more unique. I absolutely love how one of the cat’s eyes is crocked; it gives the cat character. Doing crafts with Lil has taught me to be patient and forced me to move perfectionism gradually to the side.

Lil loves making crafts. I have been making art with Lil from the very beginning, with footprint art. I’ve always known that not only is being creative with my kid fun but it is also beneficial. I just didn’t know exactly in which way until I read “Why Art and Creativity Are Important” on Parents.com. I was thrilled to learn, Lil was improving her fine motor skills just by manipulating the paintbrush when painting her jar black. I also liked reading that by letting Lil do her own thing, putting the cat face stickers were she wanted on the jar, she was reaping big rewards. Creating art and learning new nursery rhyme songs helps boost Lil’s self-confidence. Every time her dad comes home from work, she can’t help but show off her new creation or sing the new song she learned. 

Currently, Lil’s cat jar kit sits on a table, in our small living room area, along with other Halloween decorations and Halloween picture frames. I gave Lil a LED tea light candle to put inside her cat jar since she didn’t over the jar completely with black paint. Her cat jar looks awesome at night, as the light shines through. She enjoyed making the Cat Character Jar Kit so much; she asked me if I could get her the monster jar kit and get her dad the pumpkin one at Target. The following week, I did. 

Hopefully, if time permits I can share the rest of the Halloween kits Lil and I have completed. 

October 20, 2013

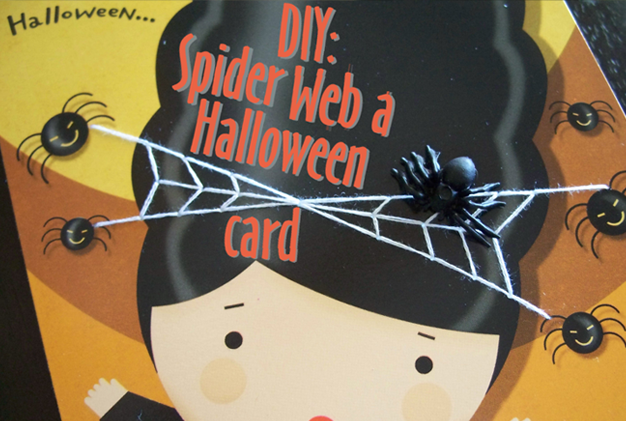
DIY Spider Web A Halloween Card

Add a little dimensional touch to a simple Halloween card and make it spooktacular, by embroidering a spider web.

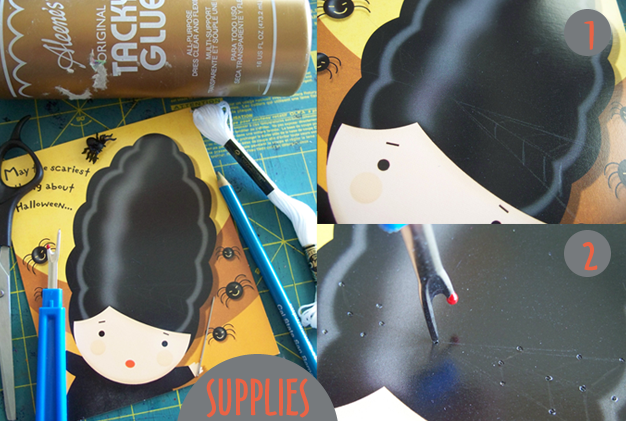
Supplies: A simple Halloween card (if it has spiders on it, the better), fake rubber spider, craft glue, scissors, seam ripper, thin sewing needle, pencil, cutting mat, and white embroidery thread (if you have glow in dark thread it’s more fun)!

Spider 1: Draw where you would like to embroider your spider web on your card. I connected my web drawing to the spiders on the card and wanted the spider web to look like a bow on the little girl’s hair. The outside of the card says, “May the scariest thing about Halloween….” inside “not be your hair.” 

Spider 2: Place your card over your cutting board. Grab your seam ripper and twist it back and forth to make holes where you will connect your stitching.
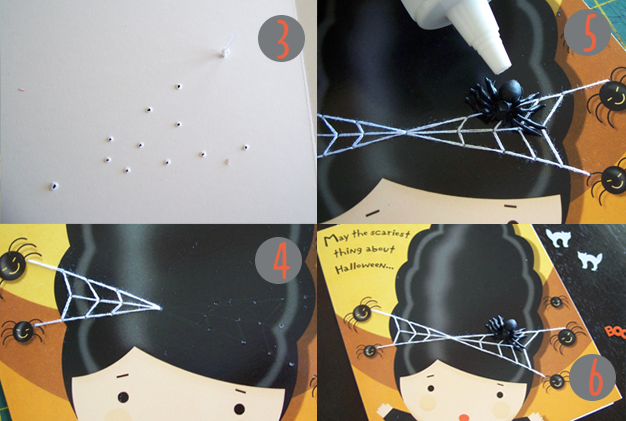
Spider 3: Use two threads, insert them in your needle, and make a knot at the end of the thread. Start sewing from the inside of the card to hide the knot.

Spider 4: Start embroidering by connecting the dots/holes.

Spider 5: Glue the fake rubber spider to your new embroidered spider web.

Spider 6: Send the Halloween card out.
I hope you enjoy this tutorial. It's very easy and only takes a few minutes. 
  

October 13, 2013

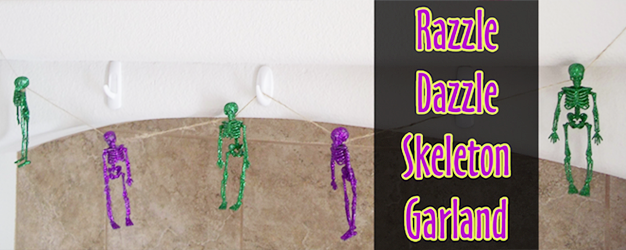
Razzle-Dazzle Skeleton Garland


My friend Amanda made some of these glittery skeletons last year for Halloween. They looked so cool hanging in her house and I told myself I would try making them this year.

Bag of Bones/Supplies: Mod Podge, sponge brush paint brush, glitter shakers, skeleton garland, and paper plates. Glitter shakers and skeleton garland were purchased at the 99cent store, but I suggest buying better quality glitter.

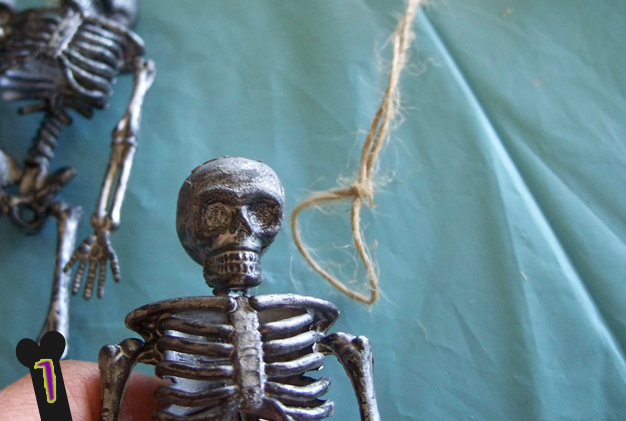
Bone 1: Remove the skeletons by loosing their noose.

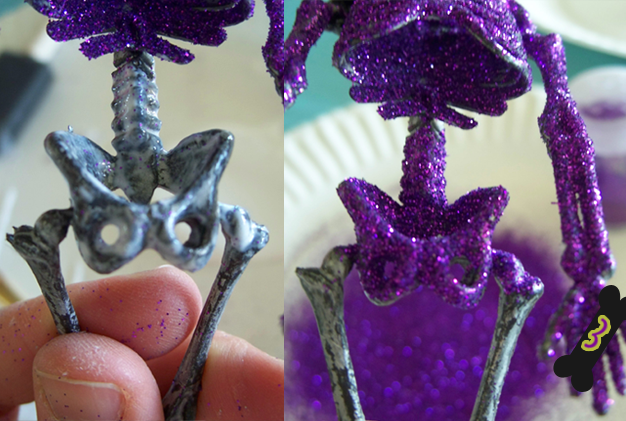
Bone 2: Put some Mod Podge on a paper plate.

Bone 3: Brush Mod Podge on a skeleton in sections then sprinkle glitter on the section you mod podged, over another plate. Tap skeleton against plate to shake excess glitter.

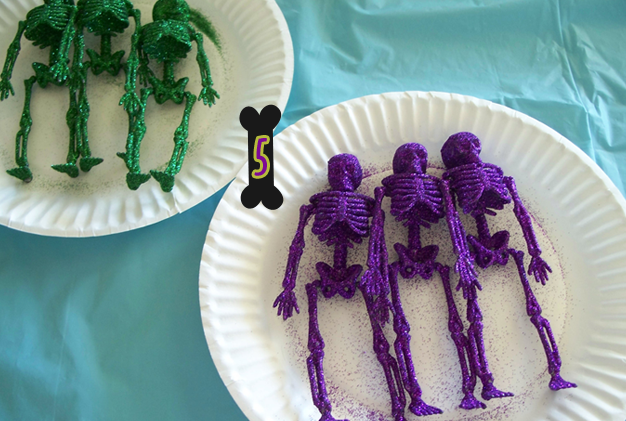
Bone 4: When your shaker is empty, fold your paper plate in half and pour glitter back into the shaker.

Bone 5: Switching colors? Repeat bone (step) 3 and 4 over a different plate.

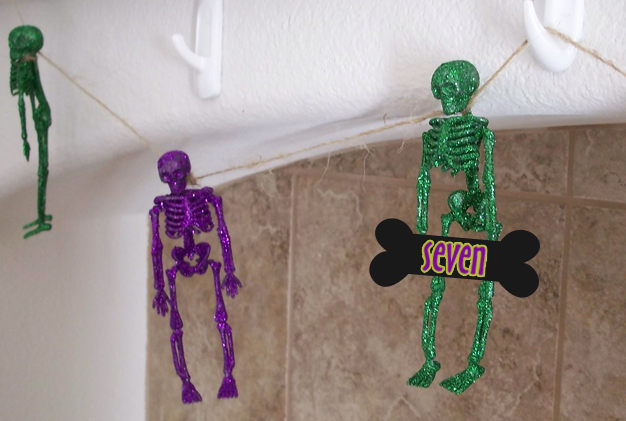
Bone 6: Grab your empty nooses and hang your razzle-dazzle skeletons.

Bone 7: Display your razzle-dazzle skeleton garland.

Wondering where the orange skeletons are? Well, what can you expect from 99cent glitter. Not only did the orange glitter look brown on the skeletons but when I hung the skeletons in bone/step 6 some of the purple and green glitter on the skeletons fell off.

Thank you Amanda for letting me share how to make these glittery skeletons to my readers!

October 1, 2013

Inspirational Halloween Ideas

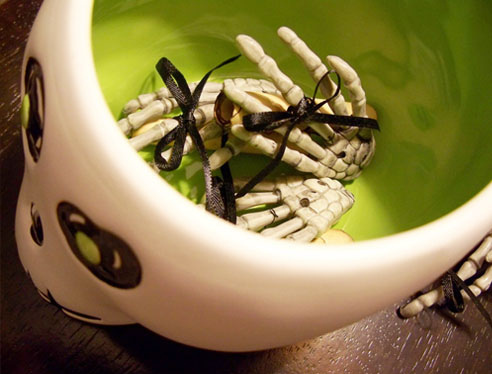
To help you get ready for Halloween I’m sharing 7 past blog posts. Many DIY posts, a costume idea, and past Halloween parties to help you plan your own. Your guests won’t forget your Halloween party with this DIY Skeleton Hand Invitations.

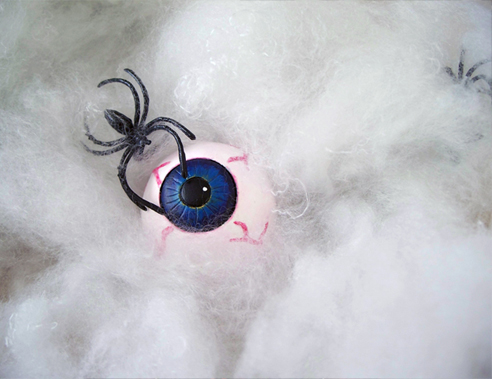
This Halloween DIY Bloodshot Eyeball Magnet decoration will sure stand out.
DIY Eyeball Tissue Paper adds a special pop to any Halloween package.

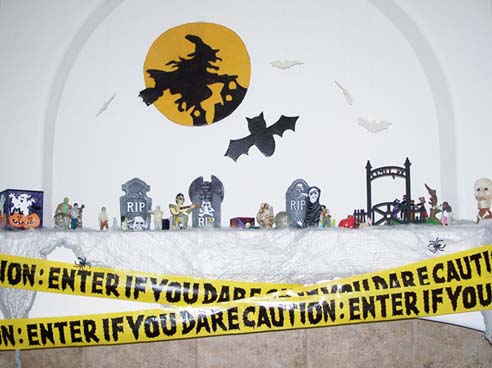
Can’t throw a party without Halloween Decorations.

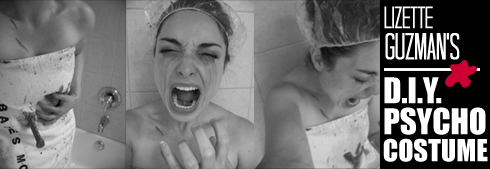
You will sure make a scene with this easy DIY Albert Hitchcock Psycho Costume.

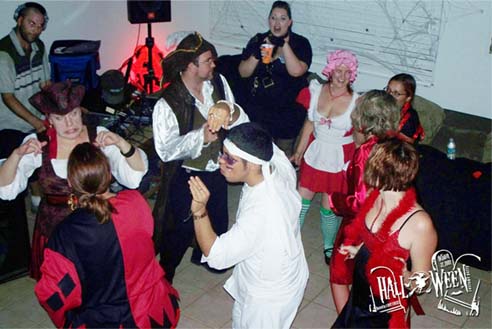
Thinking of a themed Halloween party? These past parties might help. Halloween House Party,


I hope these posts help you plan the best Halloween party ever!

November 19, 2012

Halloween in Wonderland


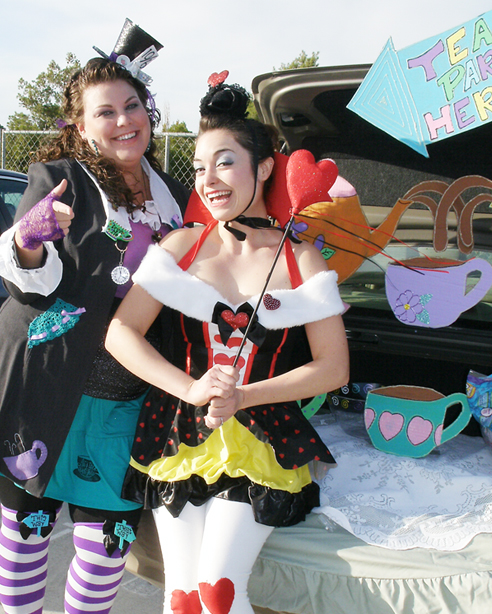
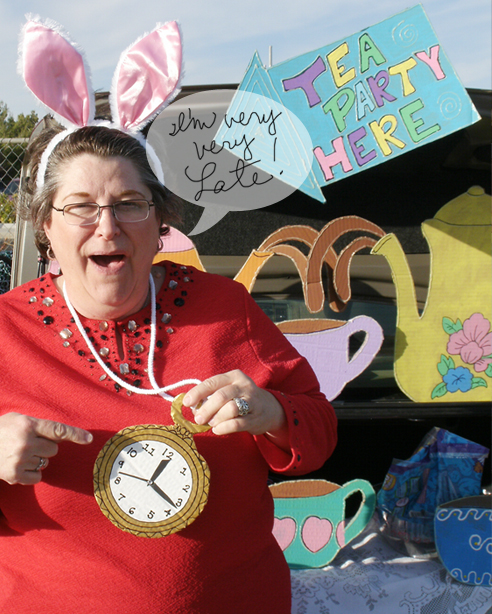
For Halloween, I joined Amanda and Christi at High Desert Church, in Victorville, CA, to pass out candy for their Blocktober event. We passed out bags and bags of candy at the Trunk or Treat section.
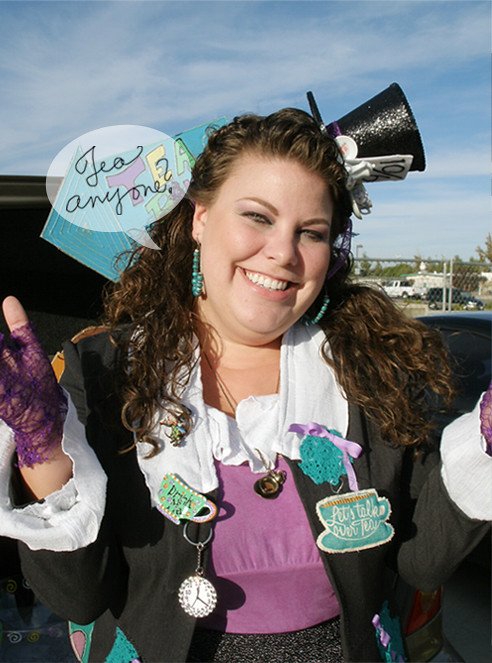
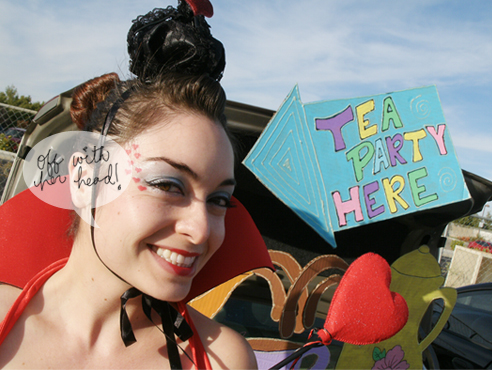
Amanda had mentioned that she wanted to be the Mad Hatter for Halloween and her mom Christi would be the White Rabbit with a fluffy tail and bunny ears for their church’s Halloween event. When they invited me to join, I suggested that we should decorate Amanda’s trunk in an Alice in Wonderland theme and I would dress up as the Queen of Hearts.


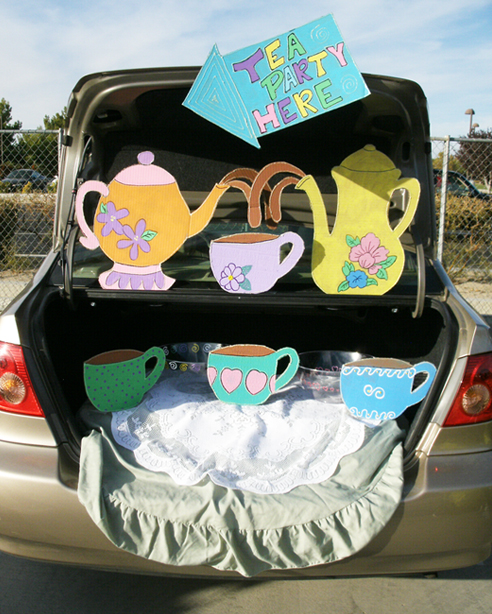
Amanda and I decided to decorate her trunk with teapots, teacups, and a “Tea Party Here” sign for a tea party theme. Amanda and I painted the cardboard decorations and Amanda out lined everything in glow in the dark puffy paint. Parents and their children enjoyed our themed trunk and asked us if we would take pictures with their children.


Amanda with the help of Christi made the Mad Hatter costume out of dresses Amanda wasn’t wearing any more. Amanda decorated her Mad Hatter hat and I stamped the bottom of her dress with my “Let’s Talk Over Tea” hand craved linoleum stamp. Amanda received many compliments on her homemade Mad Hatter costume. Christi’s White Rabbit costume was complete with a pocket watch Amanda made for her mom from cardboard and rope. My Queen of Hearts costume was an old costume I had already worn. The costume was too short and not appropriate for a church event so I wore white leggings and sewed felt hearts on the knees. I made the Queen of Hearts wand and was finally able to use it. The first time I wore the Queen of Hearts costume I forgot my homemade wand at home. I love the way accessories add more personality to costumes!

We had so much fun passing out candy and seeing people of all ages in different Halloween costumes. As we passed out candy, we keep throwing out ideas of what theme we should do next year. Maybe princesses, circus, bugs (butterfly, bee, and ladybug), peter pan…

I can’t wait for next years Blocktober event. Is it Halloween yet again?

October 31, 2012

Halloween Weekend with My Little Brother


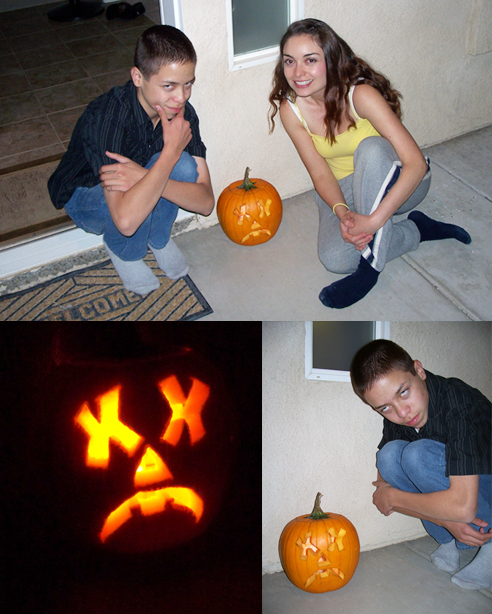
I don’t get to see my little brother Andy as much as I want to. But last weekend, October 26 and 27, my firefighter and I had him over at our house.

On Friday, we carved a pumpkin together. Andy came up with the design.


We roasted our pumpkin seeds. Andy said they tasted like sweet popcorn. I used a Sweet and Salty Pumpkin Seed recipe from online.


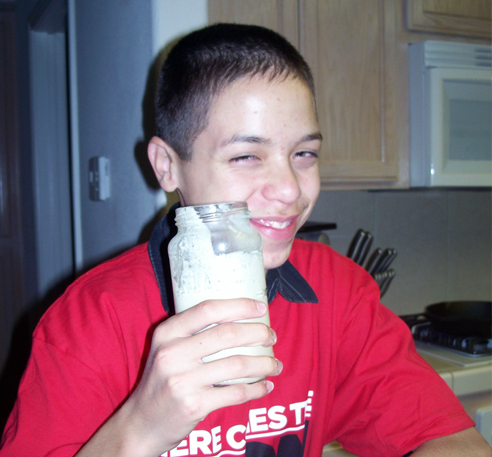
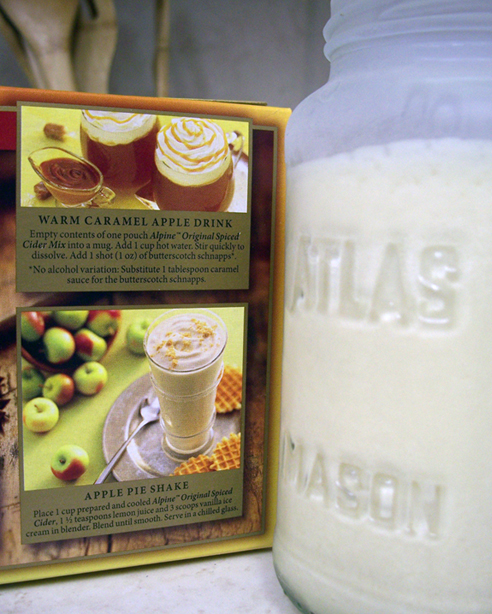
We made Apple Pie Shakes with apple cider. It was easy to make and tasted good. You can find the recipe behind the Alpine Spiced Apple Cider box.


On Saturday, we went to the first showing of Paranormal Activity 4. It wasn’t as good as the last ones and like always the shakiness made me nauseous. The movie plot just seemed to be thrown together just to make another Paranormal.

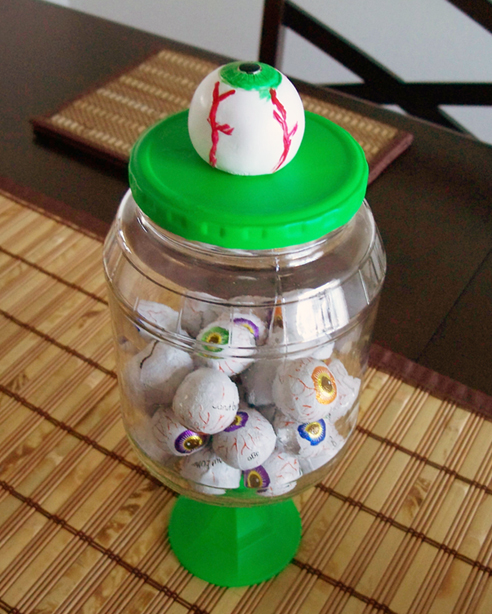
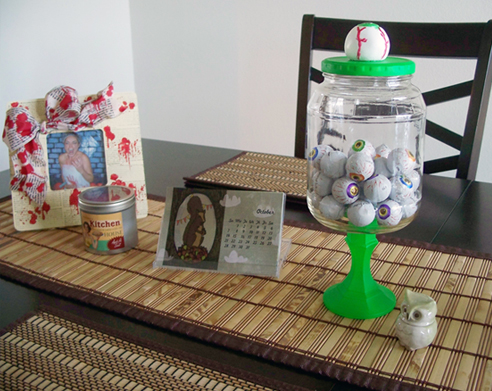
When we got home, Andy painted an eyeball for his eyeball candy jar. I spray-painted the lid of a pickle jar and a candlestick holder, glued everything together, and added peanut butter chocolate eyeballs in the jar. Andy liked the way it turned out and thought it was cool. No kid can leave my house without doing some arts and crafts.


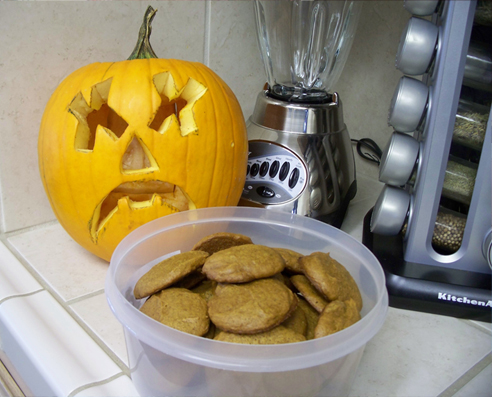
While Andy played video games with my firefighter, I made pumpkin cookies for work’s Halloween potluck on Sunday.

Andy had so much fun with my firefighter and I. While driving him back home Saturday night, he had a sad face. Poor kid didn't want to go home.

October 29, 2012

Halloween Swap: Witches Wanted


Another gift from the Halloween Costume Swap, witches’ style! 

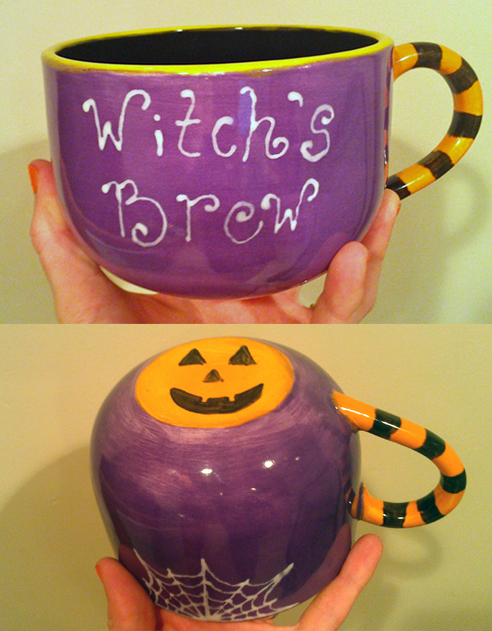
Double, double toil and trouble Mari will be a witch at work for Halloween. No worries though, this witch won’t be turning anyone into a frog. On Halloween, she’ll be in a wicked good mood because her Halloween Costume Swap partner Emily used some magic of her own and made Mari a flying witch necklace and a witch’s mug for Mari’s morning brew.


Click here to see more detailed pictures of the necklace and mug Emily made for Mari.

October 25, 2012

Let's Go to the Pumpkin Patch


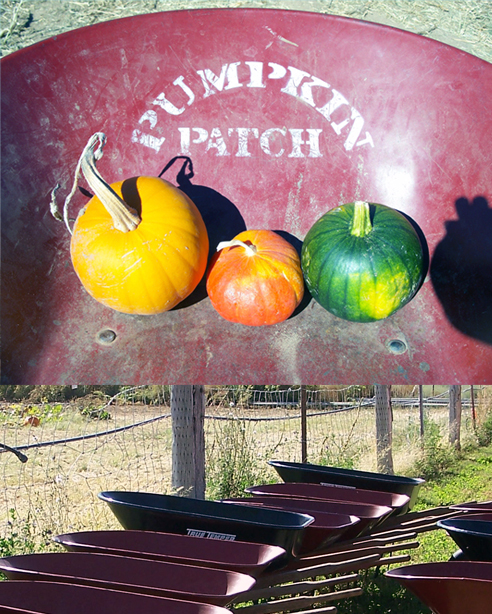
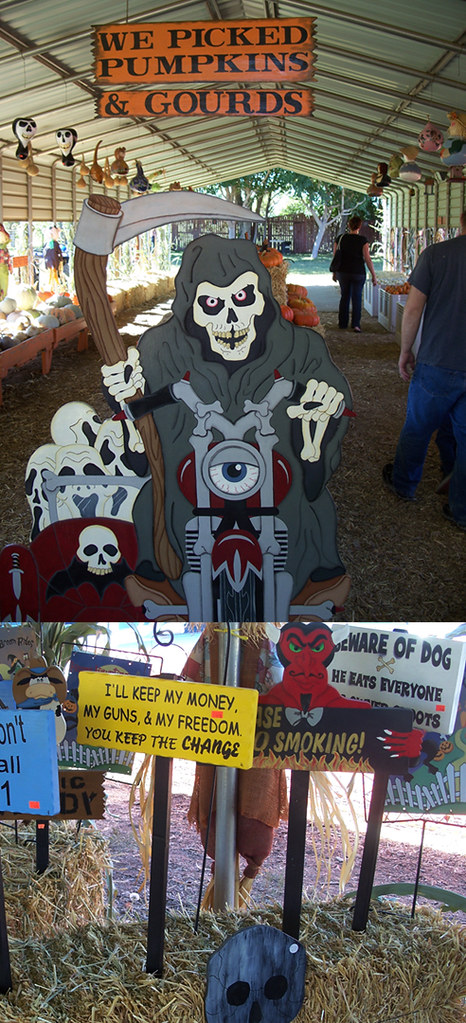
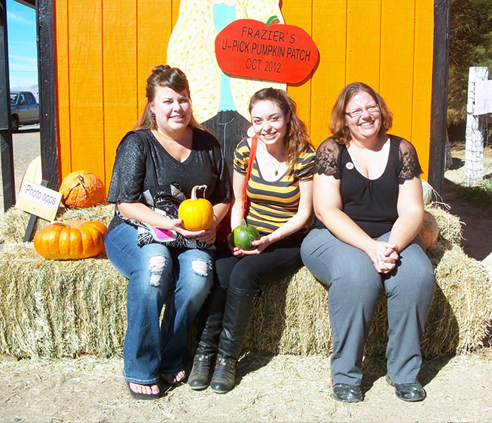
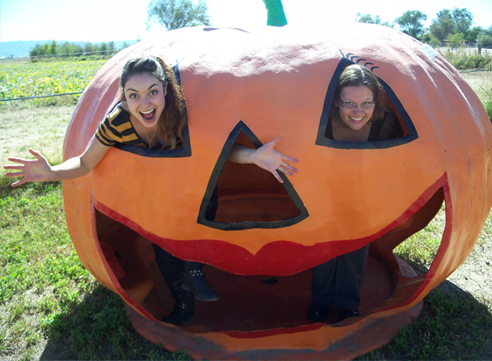
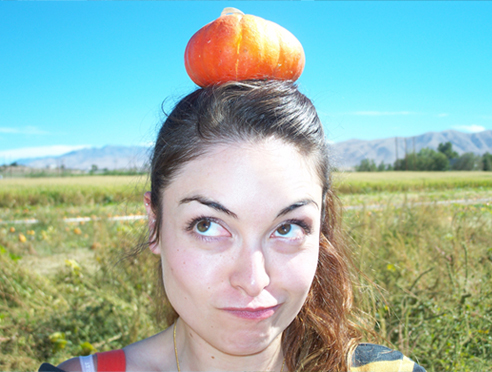
After watching Pitch Perfect with my friends, Amy and Amanda, I said to them, “Let’s go to the pumpkin patch!” On October 15th, we went to Frazier’s U-Pick Pumpkin Patch, in Apple Valley, to pick our pumpkins. My friends and I had a blast being super silly, on our little adventure to find the perfect pumpkin.


That's All Folks!

October 24, 2012

Halloween Swap: The Count Has Arrived!


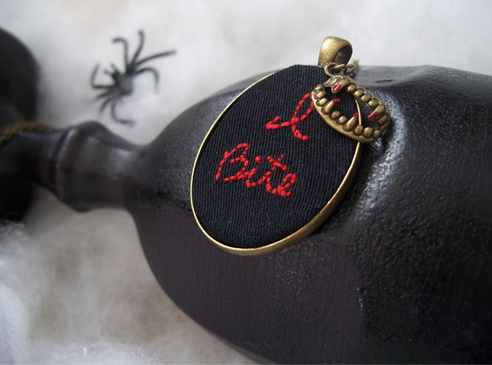
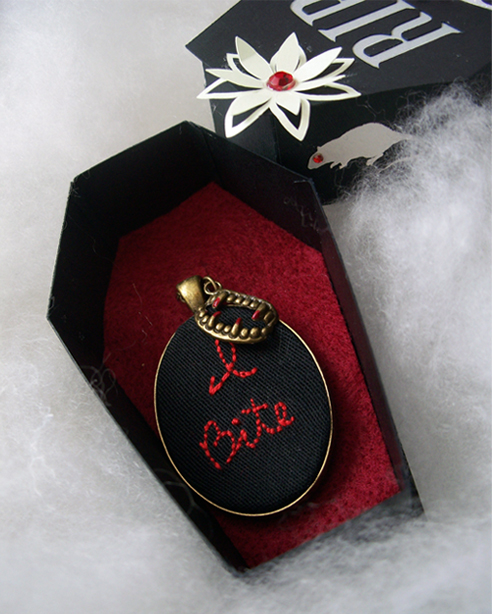
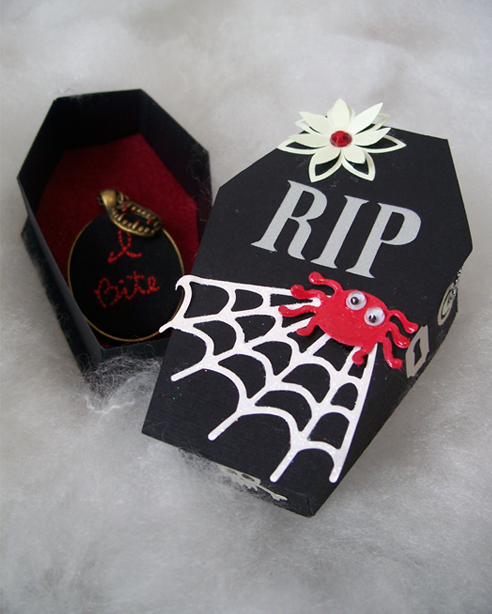
I received an email today from my Halloween Costume Swap partner Amy, from the blog Pictures and Pillows, that her package just arrived! And, now I’m excited to reveal what I sent her. Amy wants to be a vampire for Halloween as you can tell from the pictures above. I really enjoyed making both the “I Bite” necklace and the bloodshot eyeball magnet for Amy. Amy said she, “Absolutely love it!” I’m thrilled to hear that! The elaborate tomb box with its locks, skull, rat, googly eye spider are a creation from the talented Debbie, from Snow Bunnies Ink. I use Debbie for many commission pieces. Her work adds the perfect final touch to what I have created. In Amy’s package I also included other goodies. A pumpkin scented candle, a tomb shaped cookie cutter, and of course a box of candy. It’s not Halloween without some candy.


As you have heard me say in previous swap posts I really enjoy participating in swaps. They help me create things I usually would not make. Think out of the box. I get to explore new mediums I haven’t had to chance to play with yet. I'm excited for the next swap. A Christmas themed swap!

I will be posting pictures of more Halloween Costume Swap pieces soon, as they gradually make their destination.

Related Posts Plugin for WordPress, Blogger...