September 29, 2011

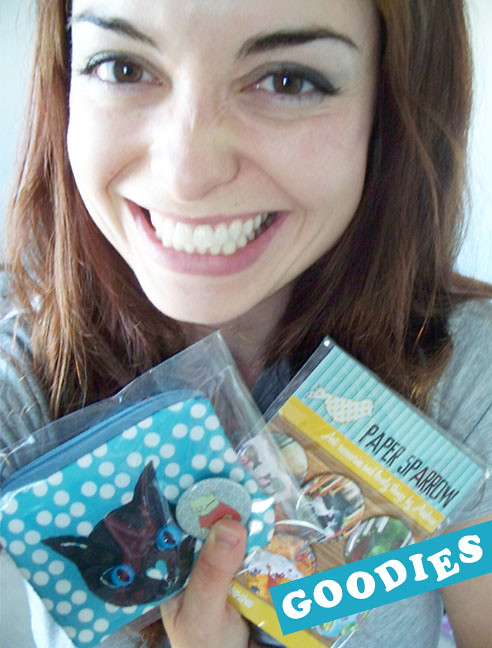
Goodies from Friends


It's not even Halloween yet and I'm already getting fun goodies! Thanks Andrea!

September 28, 2011

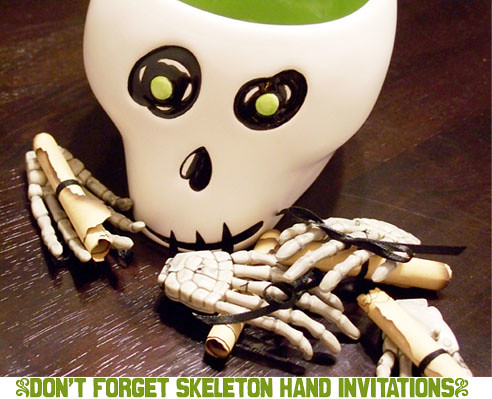
DIY Don’t Forget Skeleton Hand Halloween Invitations


I made these skeleton hand Halloween invitations two years ago for my “Boneyard Bash” party. They are a little time assuming but totally worth it. All my guests thought they were to die for. They even glow in the dark!

Supplies: 8 ½” x 11” Paige card stock paper, Lipton tea bags, a mug, scissors,  a stove, thin tip Sharpie/black pen, skeleton hands (from the Dollar Tree store), black ribbon, a paint brush, glow in the dark paint, and black thread.

1. Warm water in a mug in the microwave. Not too hot because then you won’t be able to hold the tea bag. Dip the Lipton tea bag in the mug and let the tea bag absorb the warm water. Pat the tea bag numerous times on one side of the paper and squeeze the tea bag to get tea drops onto the paper. This process will give your paper an old worn out look, almost like an old treasure map.

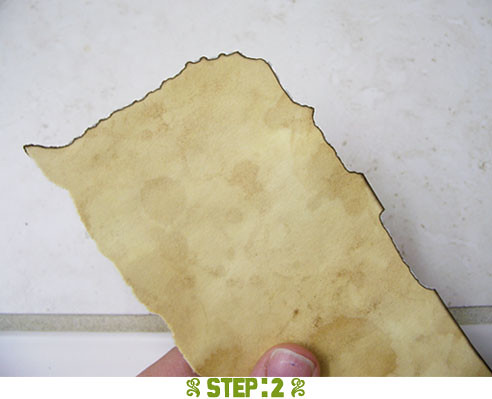
 2. After the paper has dried, tear the paper into three vertical sections with your hands. Each page should make three invitations. Using the stove and being very careful burn all the edges of your paper.

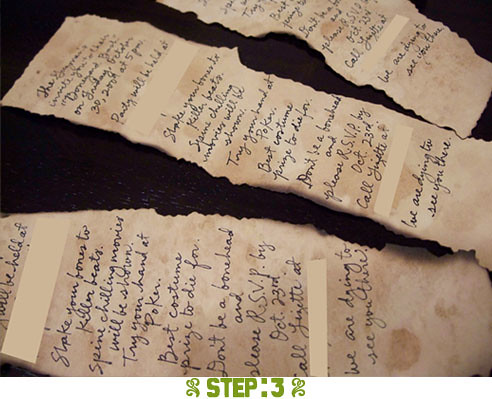
3. Using a Sharpie or a pen write out your Halloween invitation.
I wrote in cursive: The Guzman’s invite you to their “Boneyard Bash” on Friday, October 30, 2009 at 5pm. Party will be held at (your address). Shake your bones to killer beats. Spine chilling movies will be shown. Try your hand at Poker. Don’t be a bonehead and please R.S.V.P. by Oct. 23rd. Call (your name) at (your phone number). We are dying to see you.

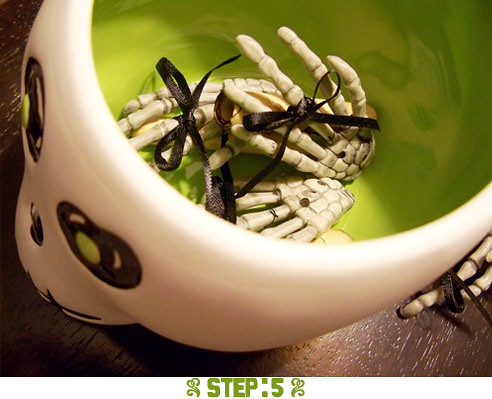
4. Paint the outside skeleton hand with the glow in the dark paint. Let dry then tie a bow around one of the skeleton fingers. Roll the paper into a scroll, place it on the palm of the skeleton hand, and tie it onto one of the fingers with black thread.

5. Now, enjoy your Halloween Invitations! Your guests will be excited to attend your Halloween party. If you took all that time to make these to die for invitations, they can only image how fun the party will be!
September 26, 2011

Look forward to Mondays with Movie Mondays


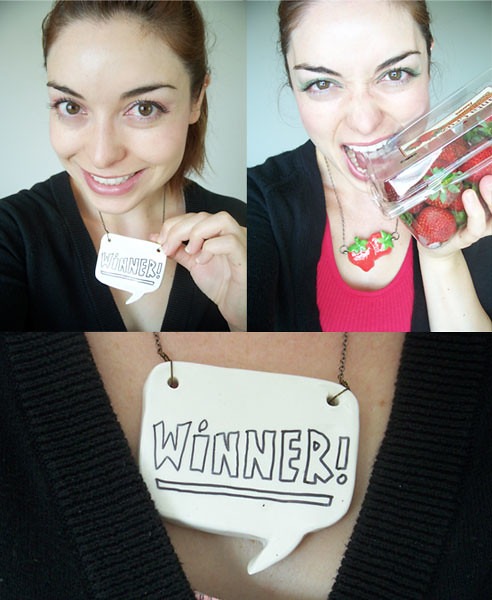
I’m not a Monday person at all unless I happen to have the day off from work that day. Thanks to Emily from the morose bee I have something to look forward to every Monday now. Movie Mondays over at the morose bee! Every Monday, Emily posts pictures of items from Etsy sellers and you have to guess which movie they correspond to. What a bright idea! The cool part is that if you win you get to choose any item from her Etsy shop. I have been a winner three times.

Movies I have guessed right on are The Wizard of Oz, Kick Ass, and Mary Poppins. Today is Monday so head over to the morose bee and try to figure out the movie of the week. You can be a winner just like me! I chose both the Speech Bubble necklace and the Strawberry necklace as my prizes from the morose bee shop on Etsy. Emily's jewelry is fun and unique and I have gotten lots of positive comments on my necklaces from customers at work, especially the speech bubble since I can write whatever I want on it. Go take a look at her Esty shop; you might not to wait for Movie Mondays to own one of your own.

September 17, 2011

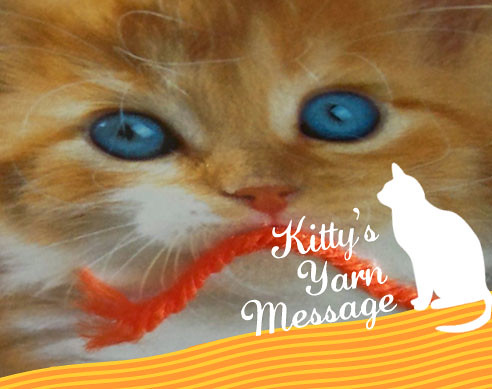
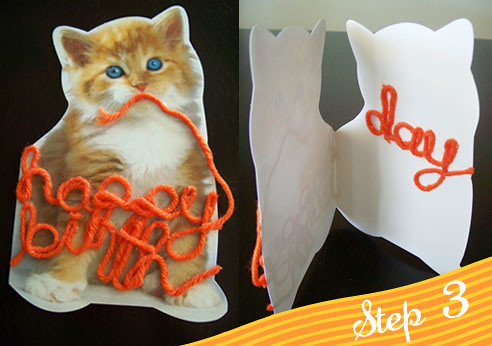
DIY: Kitty’s Yarn Message Card


I wanted to send Andrea from Paper Sparrow a card for her birthday and not just any card. I wanted to make her a fun card. I know she loves cats. While going through my numerous cards and stationary boxes I found a blank cat card. I decided I would decorate it with a yarn message. This tutorial is perrfect for any cat lover and you can add any message you’ll like.

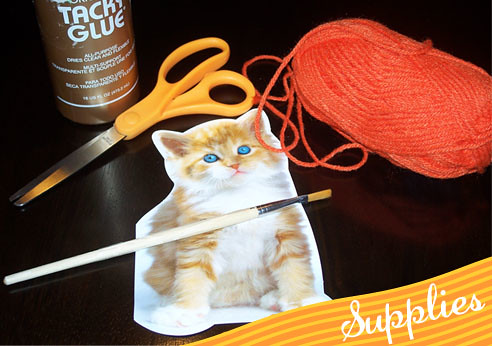
Supplies: glue, scissors, a paintbrush, cat card, and your choice of color yarn

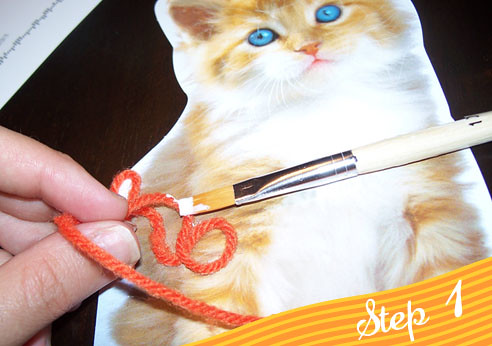
 1. Grab your yarn and twist and turn it to create the first letter on your card. Make your letters in cursive to make it look like the cat was playing with the yarn and created a message with it. After seeing what your first letter will look like, glue the back of the yarn using a paintbrush to glue together your letter onto the card. You’ll have to twist your yarn to make sure the glued part of the yarn stays in the back.

2. Once you have the yarn where you want it, as you create your letter, press down on the yard for a few seconds to make sure the yarn stays put.

 3. Repeat steps 1 and 2 until your yarn message is complete. The shorter the message the more likely that it will fit just on the front of the card. Then again there’s always more room inside.

September 14, 2011

I’m back!

Sorry I was an absent blogger but my computer was out of order for a few days. I was going a bit mad (not like angry, more like nuts) without my computer and the Internet. But I’m back and happy!


I’m also proud to say that I participated in my first Paper Sparrow blog party! It’s a Cat-Tastic blog party and it’s going on right now! I’m doing a guest post on how to make a ‘Hang in There’ necklace. Cat lover or not you have to stop by at Paper Sparrow and join all the fun. Plus, you can enter to win the ‘Hang in There’ necklace I made and other awesome cat related prizes at her blog too.
Related Posts Plugin for WordPress, Blogger...