


Supplies: Glue gun, ribbon, Mod Podge, map, clear sheet, mini album (99 cent store), pin, sponge brush, pencil, scissors, ruler, felt, needle and thread, and craft glue (not pictured).
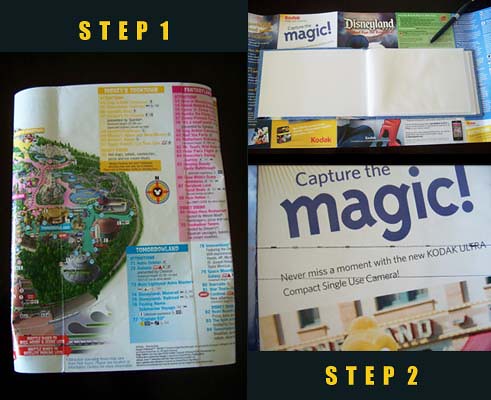
1. Wrap the map around your album the way you’ll like it to look. 2. Flip them over together and trace your album onto the back of the map. Measure half an inch all around above the lines you made to trace your album. Connect the half an inch markings. You should have two rectangular shaped boxes on the back of your map.
3. Cut the map on the biggest rectangle outline. Place map back underneath album and fold vertical sides of the map onto the album.


4. Grad the bottom corner of the right side of the map and fold it over the edge of the album; this will create a crease. Cut folded corner as shown by red dots. Repeat step again for the top corner of the right side of the map. Glue the right side flap onto your album with craft glue.

5. Fold horizontal sides of the map onto the album and fold the right top and right bottom corners into the horizontal sides of the map.

6. Using Mod Podge glue map onto the album in sections and rub out bubbles. Fold the left top and left bottom corners onto the horizontal sides of the map (like in step 5) then repeat step 4 to finish left side flap.
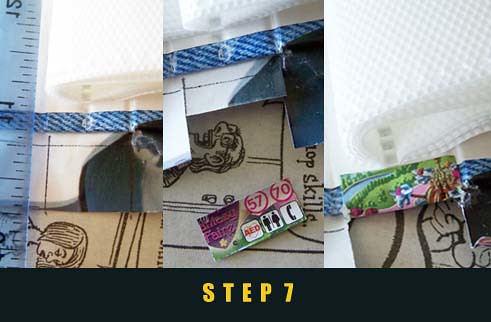
7. Make two vertical lines following the spine creases of the album onto the map. Cut vertical lines, cut the first half of the square, fold and glue remaining piece onto album.
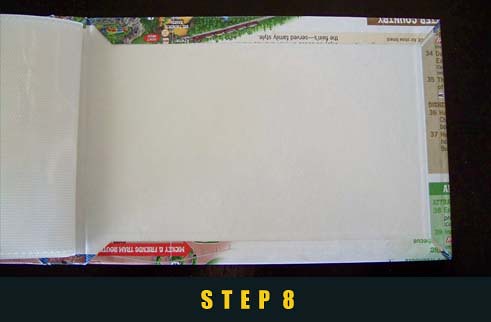
8. Fold all remaining corners and glue top and horizontal flaps.

9. Glue pin onto front of album with glue gun.
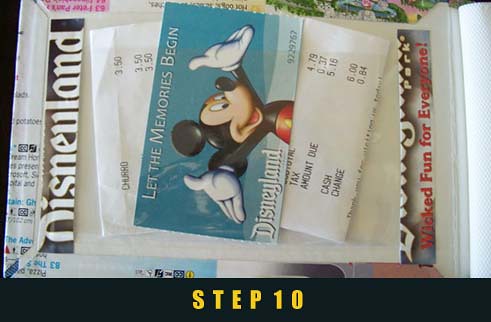
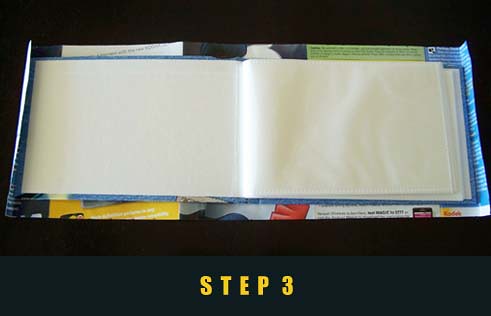
10. Fold clear sheet in half and use two long pieces of remaining map scrap paper to glue clear sheet onto the inside of the album. Now, you have a pocket to insert your ticket, receipts, and other goodies you collected from your adventure.
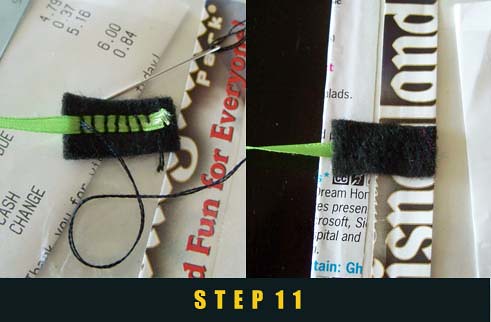

12. Tie your album. Now, you have a book just like Tintin with your own adventures!

Nice work!
ReplyDelete