
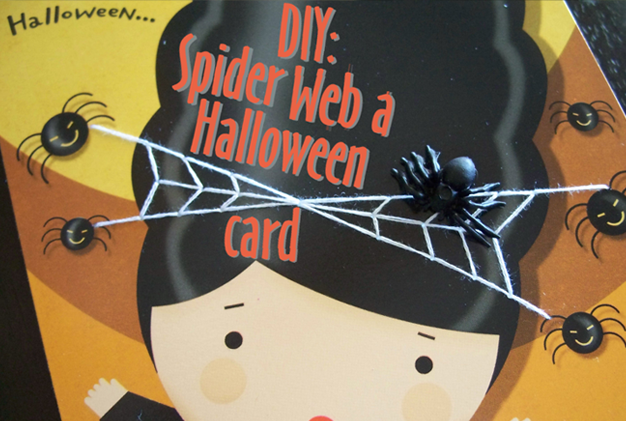
 Add a little dimensional touch to a simple Halloween card and make it spooktacular, by embroidering a spider web.
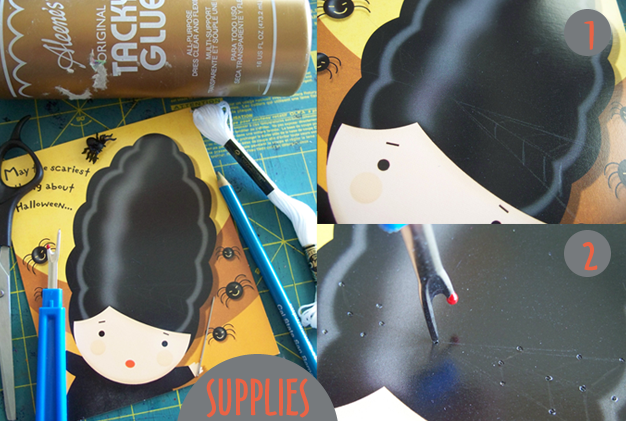 Supplies: A simple Halloween card (if it has spiders on it, the better), fake rubber spider, craft glue, scissors, seam ripper, thin sewing needle, pencil, cutting mat, and white embroidery thread (if you have glow in dark thread it’s more fun)!
Spider 1: Draw where you would like to embroider your spider web on your card. I connected my web drawing to the spiders on the card and wanted the spider web to look like a bow on the little girl’s hair. The outside of the card says, “May the scariest thing about Halloween….” inside “not be your hair.”
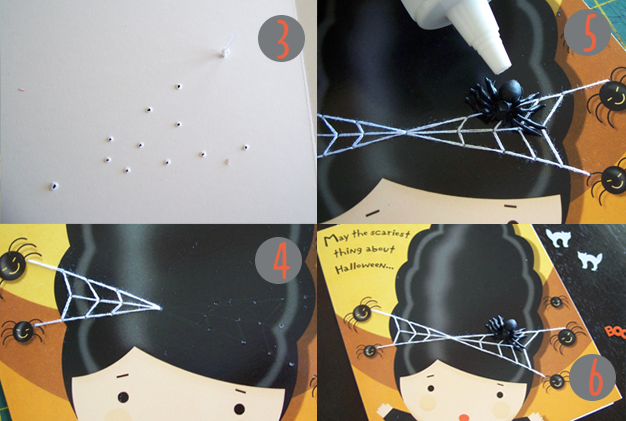
Spider 2: Place your card over your cutting board. Grab your seam ripper and twist it back and forth to make holes where you will connect your stitching.
 Spider 3: Use two threads, insert them in your needle, and make a knot at the end of the thread. Start sewing from the inside of the card to hide the knot.
Spider 4: Start embroidering by connecting the dots/holes.
Spider 5: Glue the fake rubber spider to your new embroidered spider web.
Spider 6: Send the Halloween card out.
I hope you enjoy this tutorial. It's very easy and only takes a few minutes.
I LOVE THIS! Such a cool idea. I think I'm going to use this idea and make a Halloween card for my partner. I love love love it!
ReplyDelete