

I made this car art hanger for my nephew Isaac. He is our little artist and loves to play with toy cars. He turns two years old today. I haven’t met him yet. Hopefully, I’ll get to finally meet him this Christmas. Since I can’t be there to give him all my love on his birthday, I made him this homemade gift with lots of love.
Supplies: 2 unfinished wooden cars, 6 clothespins, acrylic paint, paintbrushes, Mod Podge, silver plastic canvas cord, felt, sewing needle, thread, glue gun, and sawtooth hangers (or anything you can use to hang a frame). I got most of my supplies at Joann's fabric and crafts store.
 Green Light 1: Draw the details you want on your cars (like headlights, door handles, steering wheel, fuzzy dice, and hub caps) with a pencil.
 Vroom 2: Paint your cars and the clothespins. You’ll need many layers of paint. I painted the clothespins red, yellow, and green to match the colors of a stoplight.
 Vroom 3: Seal your painted items with two coats of Mod Podge Matte sealer, to protect the paint.
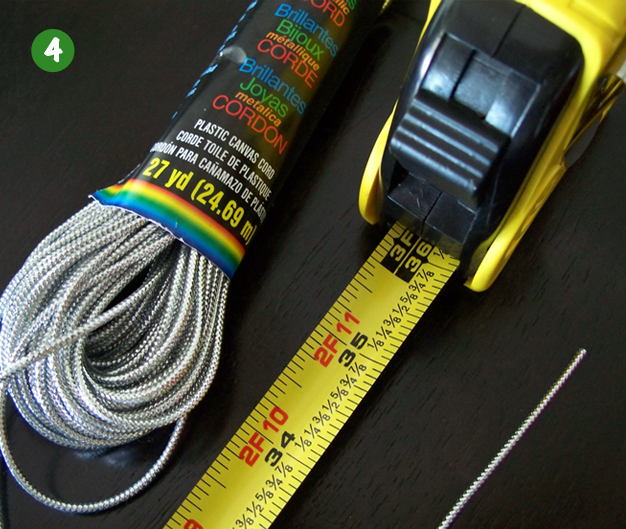 Vroom 4: Cut 3 feet (36 inches) of plastic canvas cord.
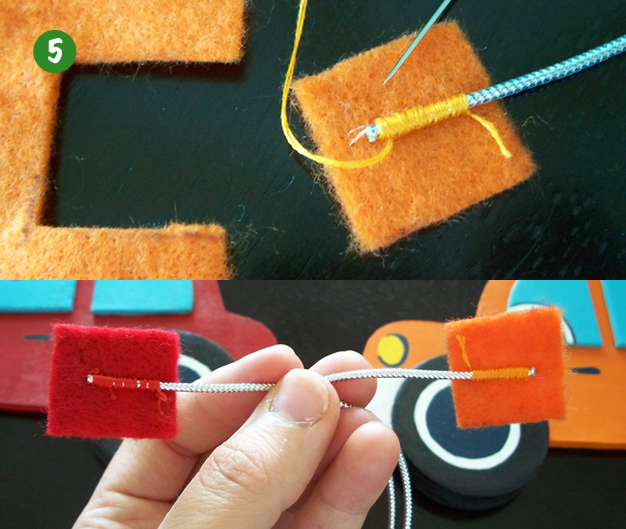 Vroom 5: Cut two square pieces of felt, 1 inch by 1 inch. Hand sew one end of the cord to a felt square then do the same to the opposite side. Make sure the cord is not twisted and it’s facing the same direction.
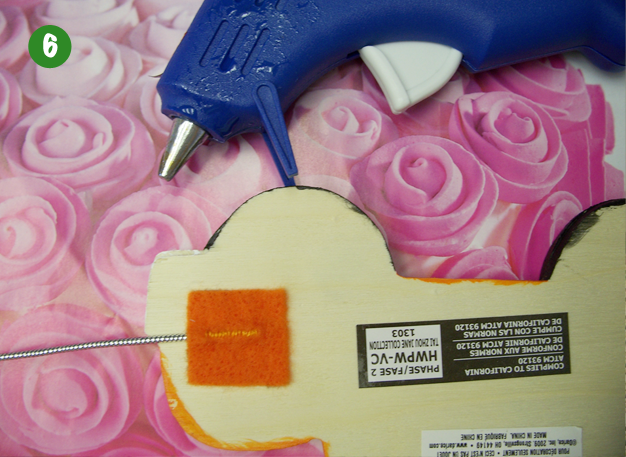 Vroom 6: Glue one square behind one of the cars and glue the remaining square to the other car. You want to glue the side of the square where you can see the cord, so you can hide the stitching.
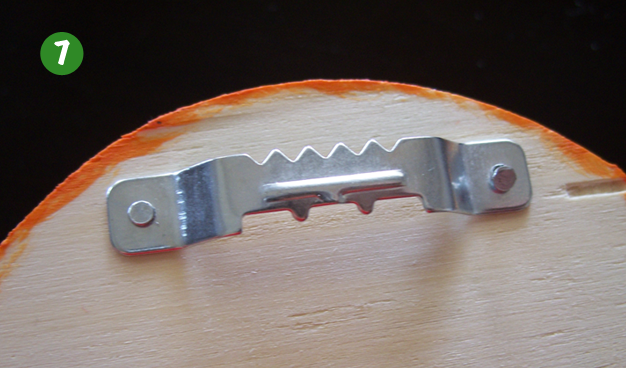 Vroom 7: Nail the sawtooth hangers behind each car. My firefighter did this for me.
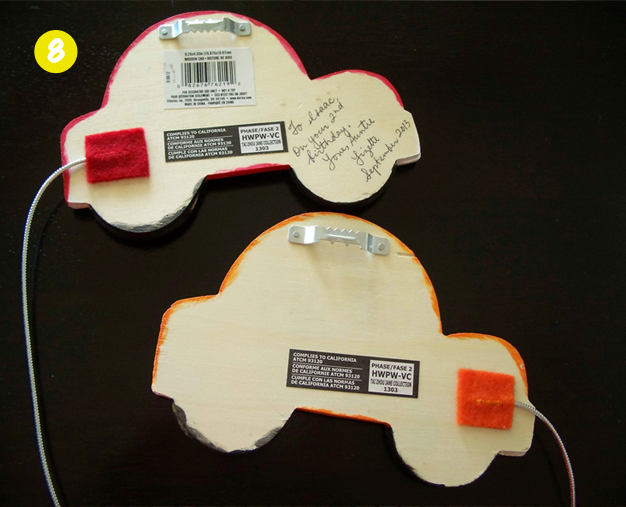 Yellow Light 8: (Optional) Write a special message on the back of one of the cars.
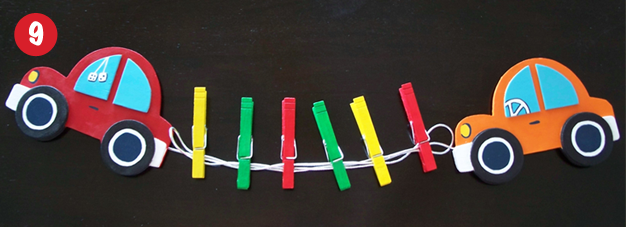 Stop 9: Park your car art hanger on a wall!
 Isaac can proudly display his artwork, birthday cards, or even family pictures on his car art hanger.
Happy Birthday my little man!
No comments:
Post a Comment