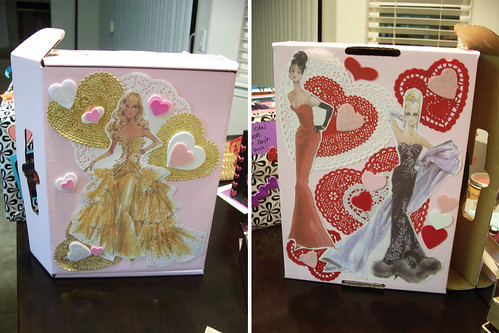
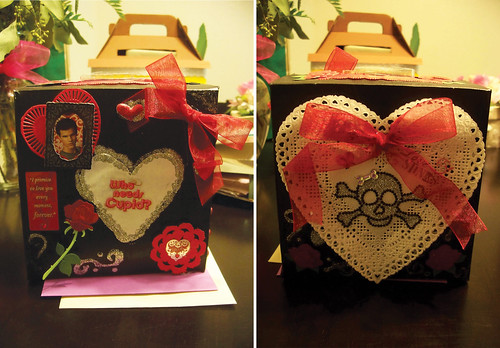
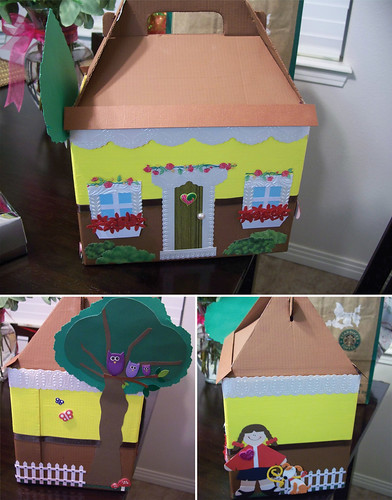
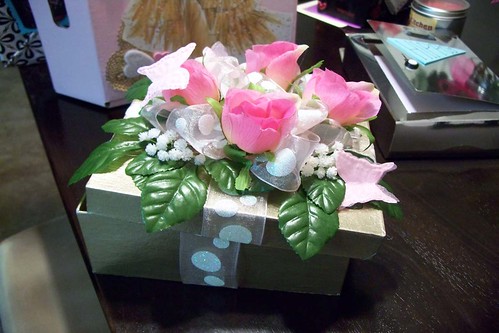
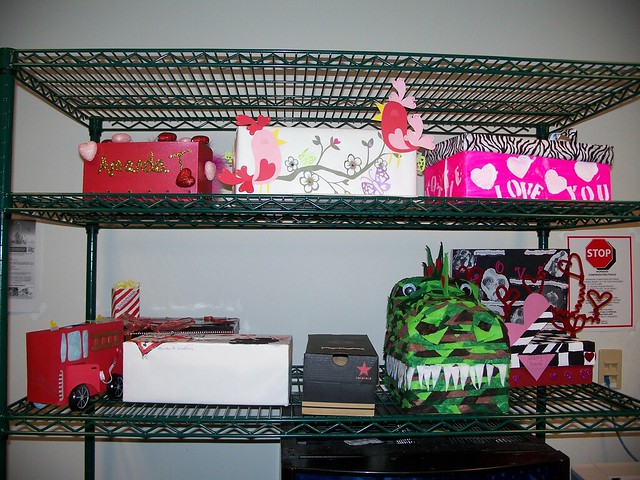
Yesterday, Sunday, February 27th, my book club meeting was held at my house. I was really thrilled to see that the girls put a lot of effort into their Valentine's Day boxes. There was a Barbie themed box, a Anti- Valentine's Day box, a floral Spring time box, an All About Amy box, and the house box. Lots of fun things happened during the meeting; however, I would like to share pictures that I took of the girls' boxes first. The judge for the Valentine's Day boxes was Jennifer since she didn't make a box. The winner was Christi; she made the house box. Her box was originally a Taco Bell box. She received a $5.00 Love Meter gift card from Target and a custom "The Bookies" pin with our book club logo on it. All the girls wanted her Bookies pin.
Since I have more pictures of the book club meeting I've decided to blog about it tomorrow. But, I leave you guys with one question, "Which Valentine's Day box is your favorite and why?"
February 28, 2011
February 26, 2011
Crafty Saturday
I have today off and I’m not going anywhere. It has been snowing on and off; it’s not sticking but it is very cold outside. The mountains do have snow though. I’ve been busy crafting since 7 am this morning and having Girl Scout cookies that I shouldn’t be having.
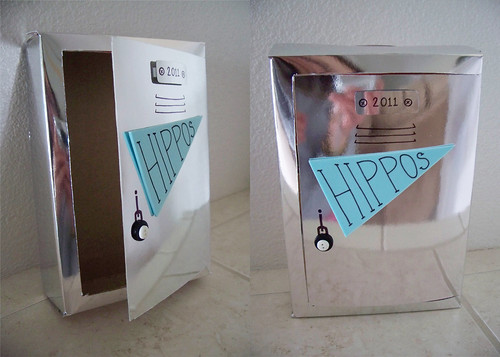
I finished my Valentine’s Day locker box yesterday night and can’t wait for tomorrow. Click here for the Locker Box tutorial. Book club meeting at mi casa (my house)! I'm making Reuben sandwiches. Plus, I get to see every else’s box. I think my box came out pretty good. I already finished my book “Outside Valentine” by Liza Ward. Kind of disappointed thought it would have been better.
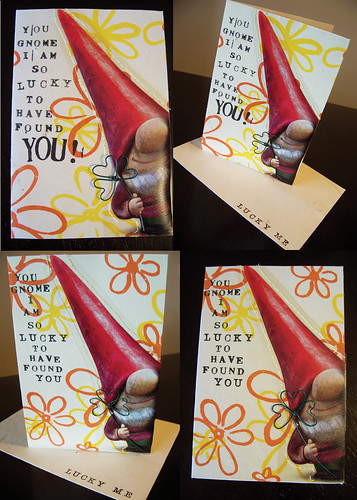
I worked on two “Lucky Gnome” cards this morning. I sewed some gnome window clings onto flower stationary and stamped “YOU GNOME I AM SO LUCKY TO HAVE FOUND YOU!” with black ink. The gnome is holding a shamrock that I made out of green wire. I just put them on my Etsy shop.
I still have much more crafting that I want to get accomplished today. I hope I can get lots more done.
February 24, 2011
My First Spring Accessory
February 22, 2011
Valentine’s Day Boxes
I always try to come up with creative activities for my staff and last year for Valentine’s Day I had them decorate their own Valentine’s Day box. Some of them got really creative. The winner of the Valentine’s Day box was Doug. He made his box into a dinosaur and you open the dinosaur’s mouth to put the Valentine’s Day cards or candy in. The employee’s really enjoyed this activity and those that participated received Valentine’s Day cards and treats in their boxes from their fellow co-workers. This year they asked me if they could do it again and I said no because this month is a very busy month. I was already feeling overwhelmed at work. I promised them that once things slowed down at work I would come up with a new fun, creative activity.
Even though, I couldn’t enter the Valentine’s Day box contest I did make one. My box is the fire truck on the right of the picture. Can you guess why I made my box into a fire truck? My husband is a fire fighter.
My employees enjoyed making the Valentine's Day boxes so much I decided to have my book club members make their own this year, especially since I am hosting this month’s meeting at my house. We usually meet the last Sunday of the month so this month’s meeting is on February 27. I can’t wait to see what the girls come up with! We actually have a creative bunch.
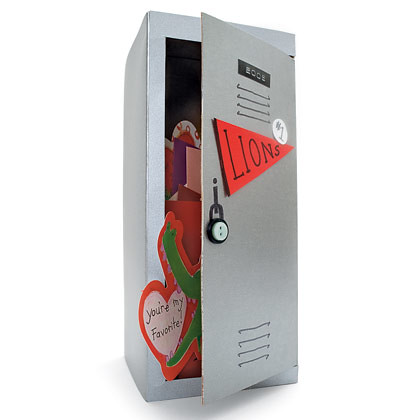
Since Valentine’s Day has past, I wanted to create a box that I can display all year round and without making it too obvious that it is a Valentine’s Day box. While surfing the web, I found just what I was looking for. A locker Valentine’s Day box! Disney’s Family Fun.com has the tutorial. Click on the locker box picture to go to the tutorial. My flag won’t say “LIONS,” it will say “HIPPOS” since hippos are my favorite animal. I’m going to work on my locker box this week. I’ll post pictures after my book club meeting, of my girls’ Valentine’s Day boxes and my box too!
February 20, 2011
My mom's birthday
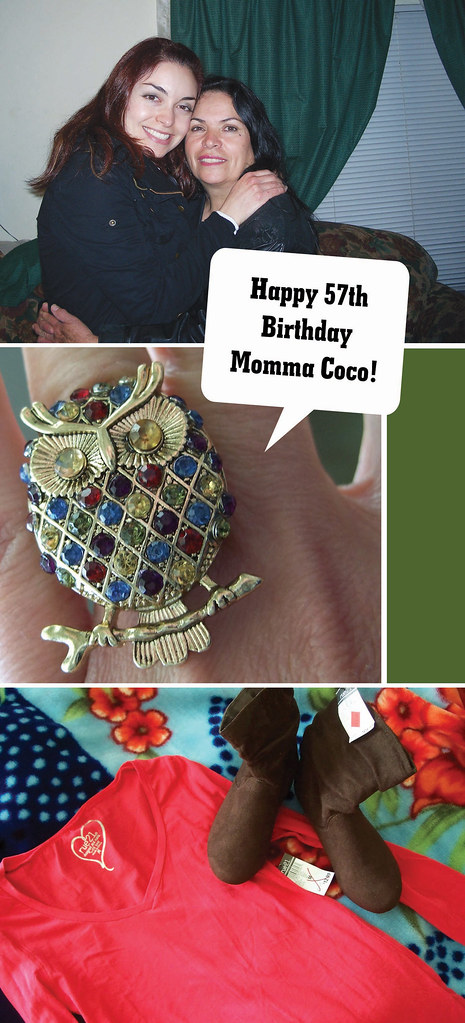
Yesterday was my mom’s 57th birthday. I called her early in the morning and played her a You Tube video of Pedro Infante singing “Las Mañanitas,” which she loved. I asked her where she would like to eat for lunch and she wanted to go to a buffet. I brought my mom a carrot cake and her birthday gift (it was black pants) when I arrived to pick my little brother and her up. I decided to take them to Golden Corral since I heard it is a popular buffet and none of us had ever been there before. The food was very good; the only draw back was that I couldn’t have anything with milk in it because of a certain medication I am currently taking. So, I didn’t have any dessert. Sad face.
After lunch we did some shopping. We went to Rue 21, Target, Ross, and the 99-cent store. At Rue 21, I got my mom a ring with a snake and little rhinestones on it, and I got myself a cute owl ring, an orange long sleeve shirt, and some short brown boots. My shirt and boots were on clearance except for the rings. I got the shirt at $3.00 and the boots at $9.99. I walked out a very happy customer!
My mom doesn’t go out much so I'm glad a was able to give her a fine owl’d time.
February 17, 2011
Must Love Gnomes
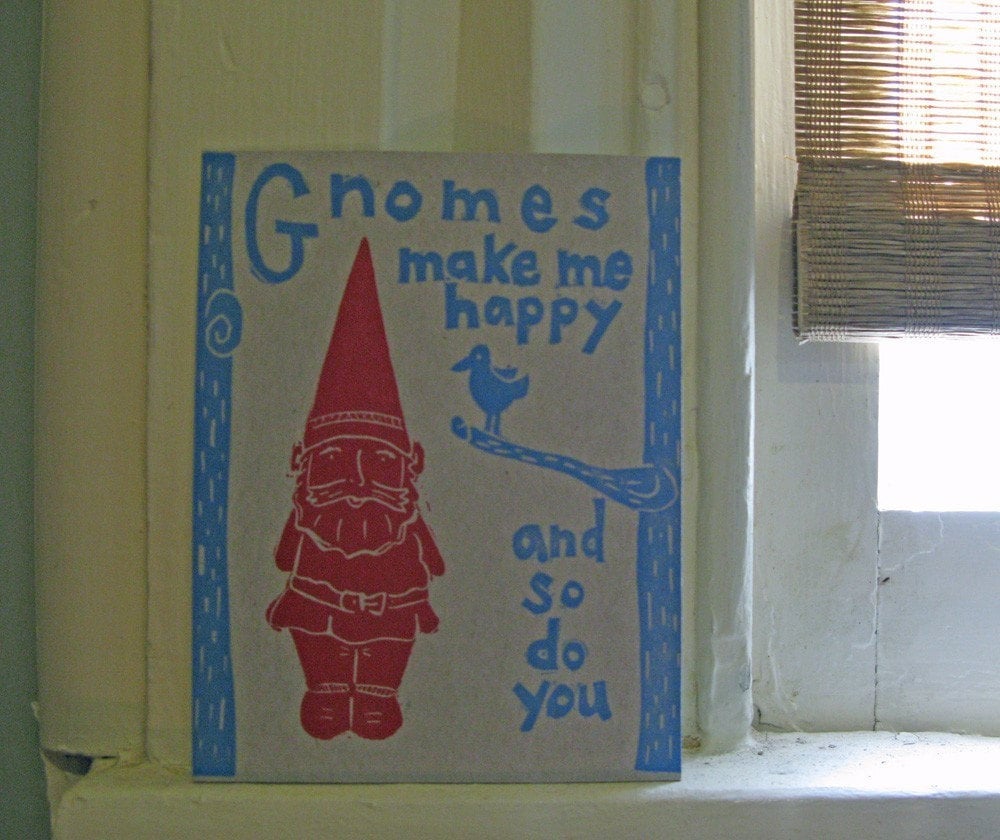
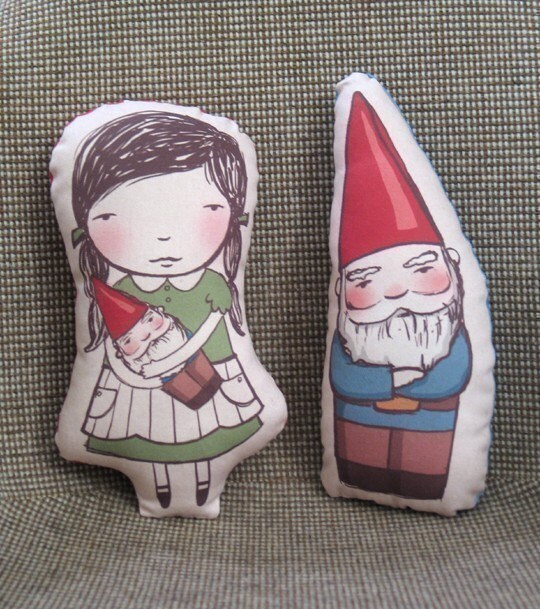
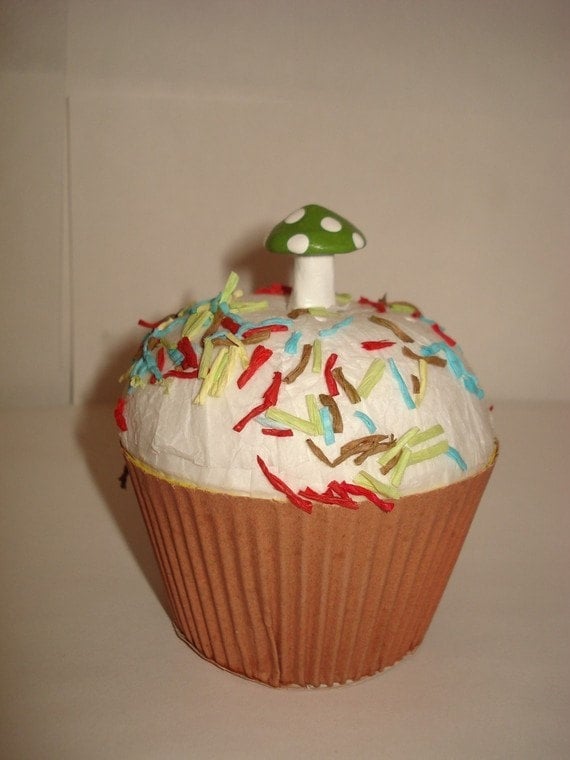
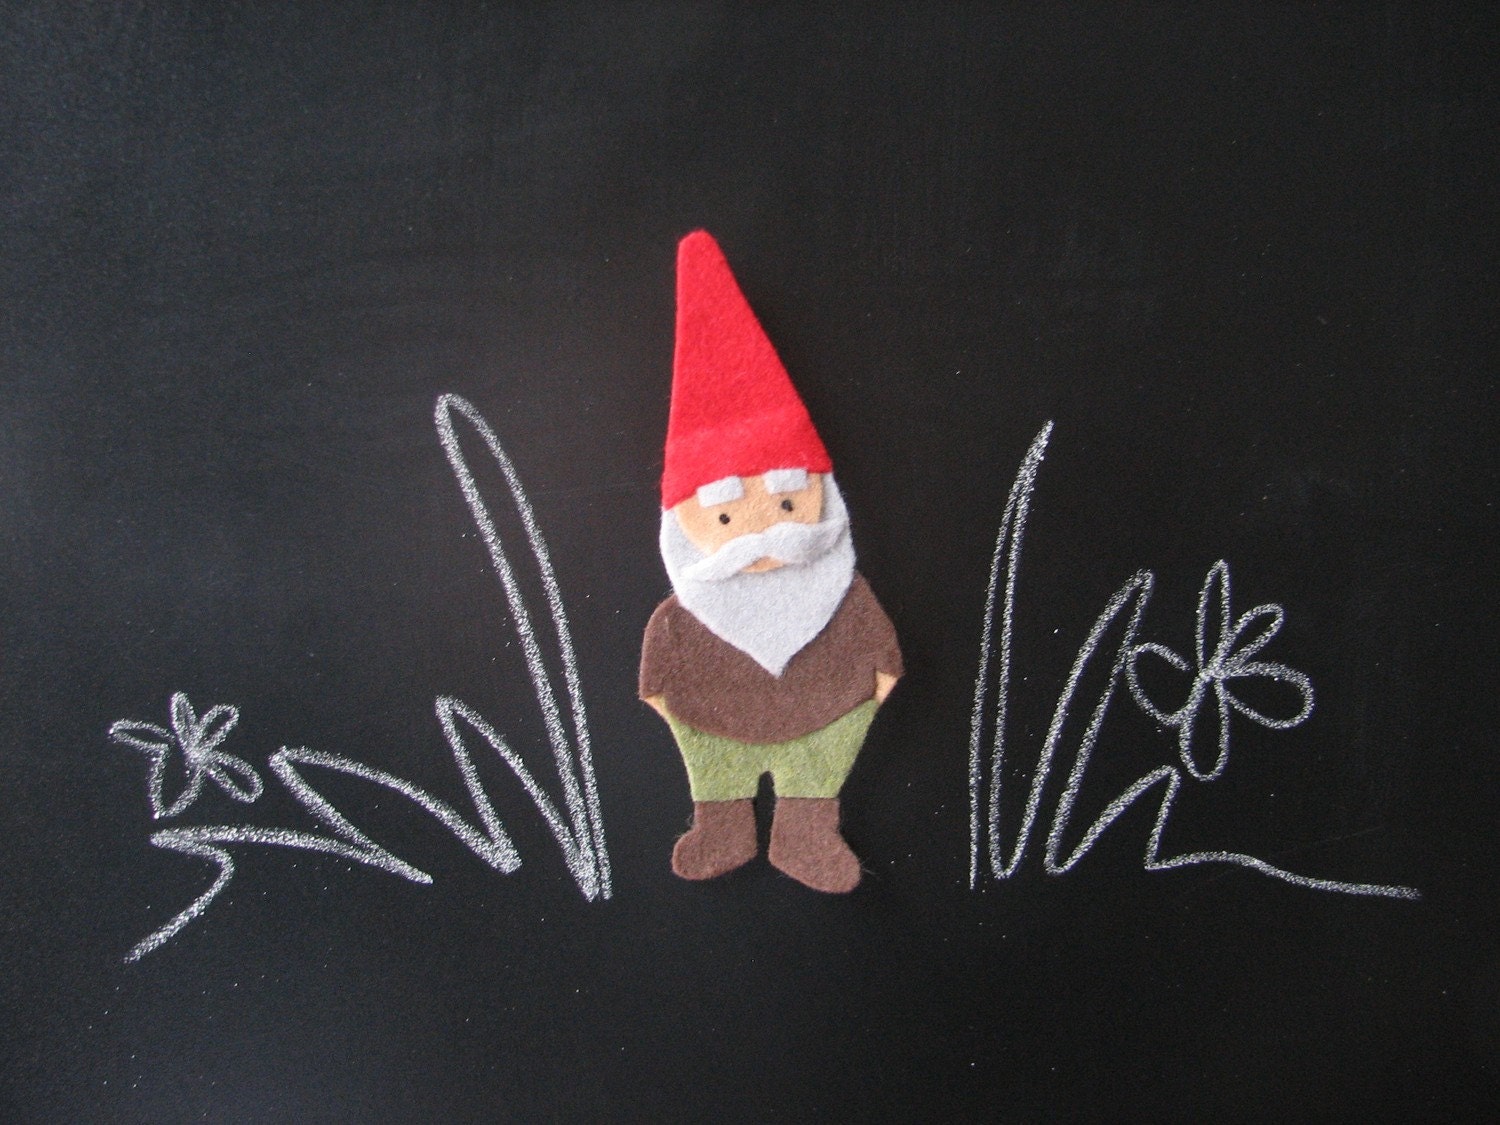
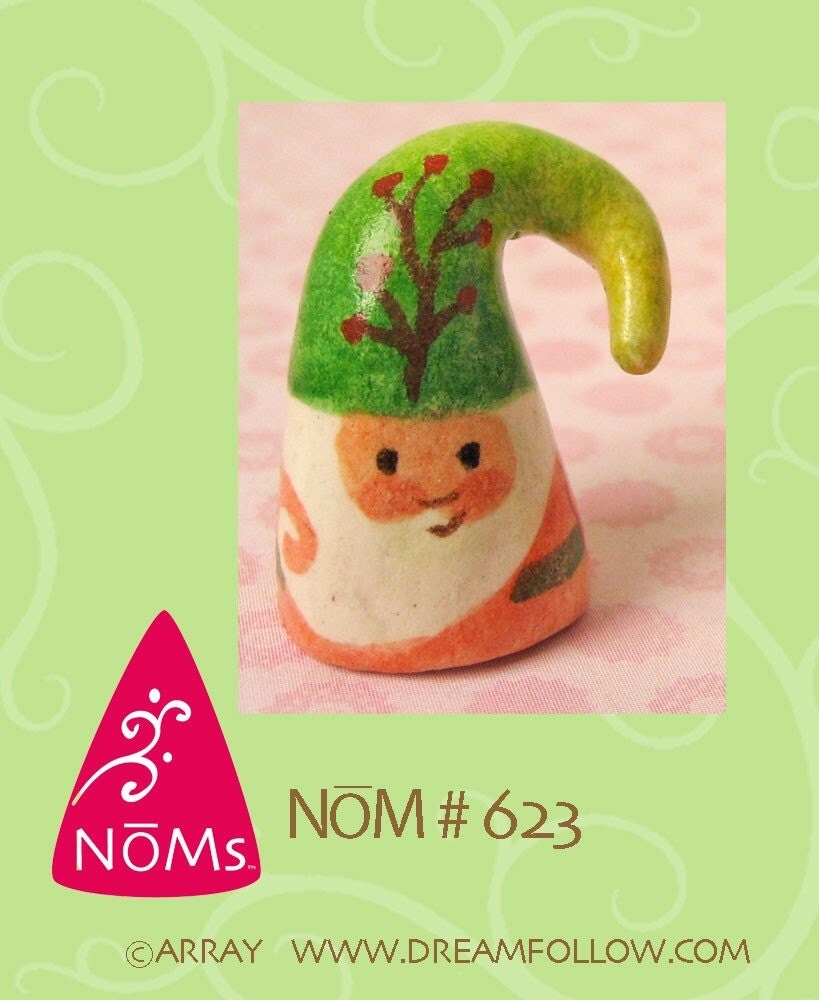
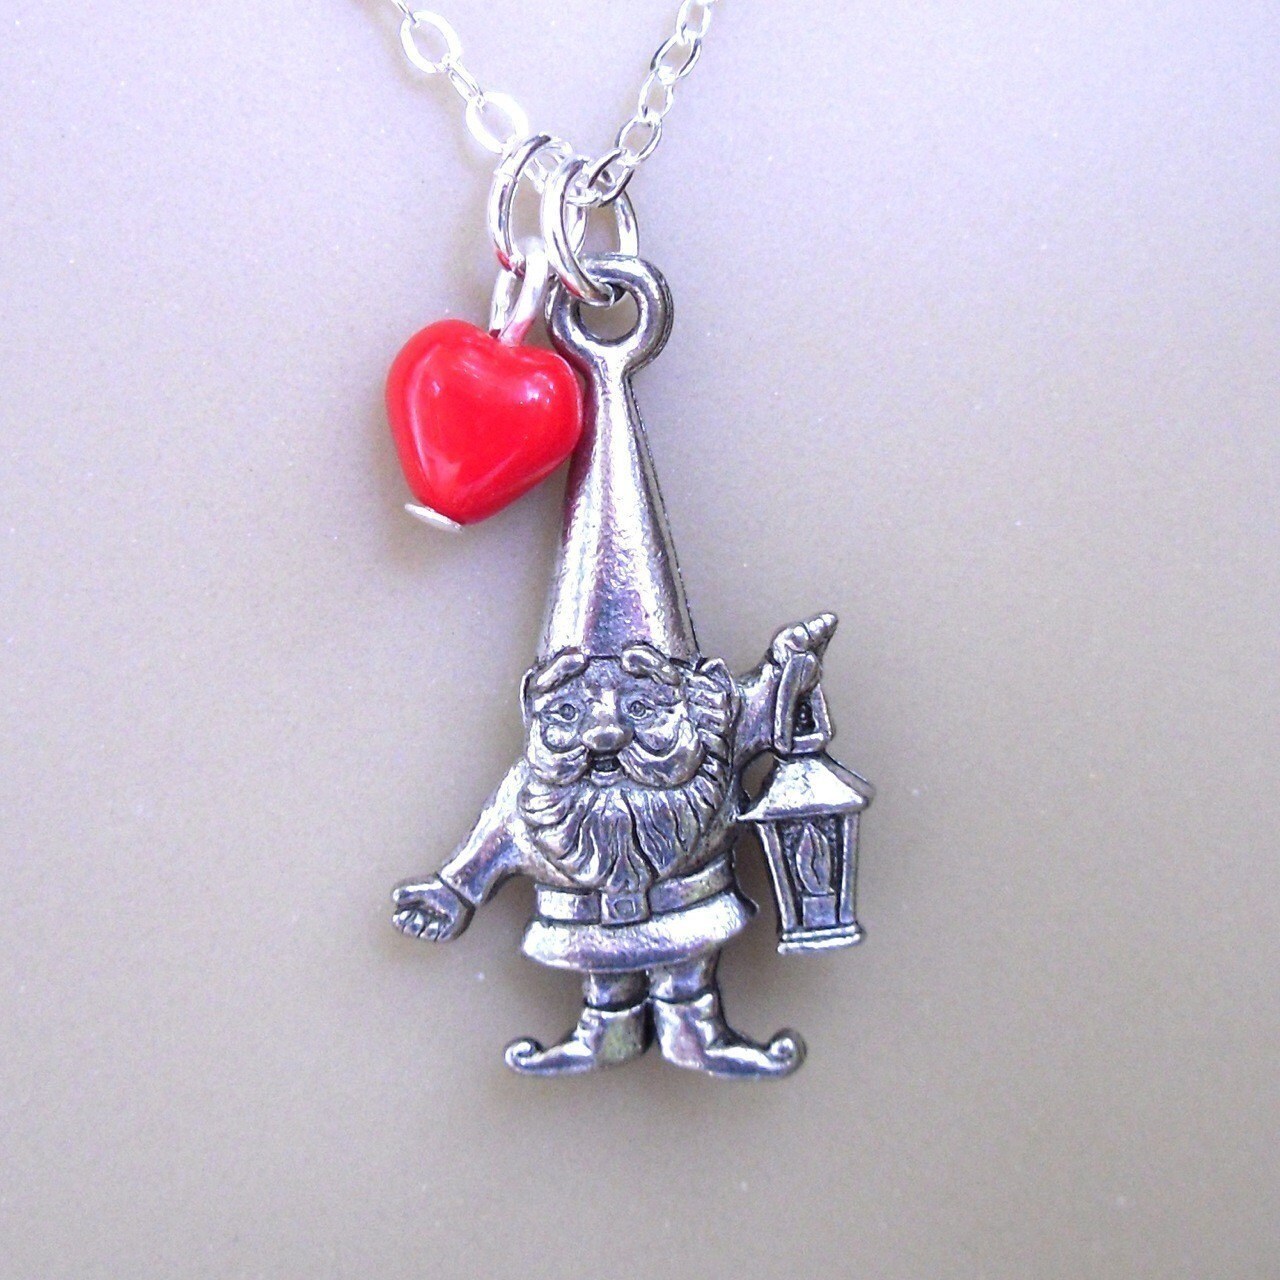
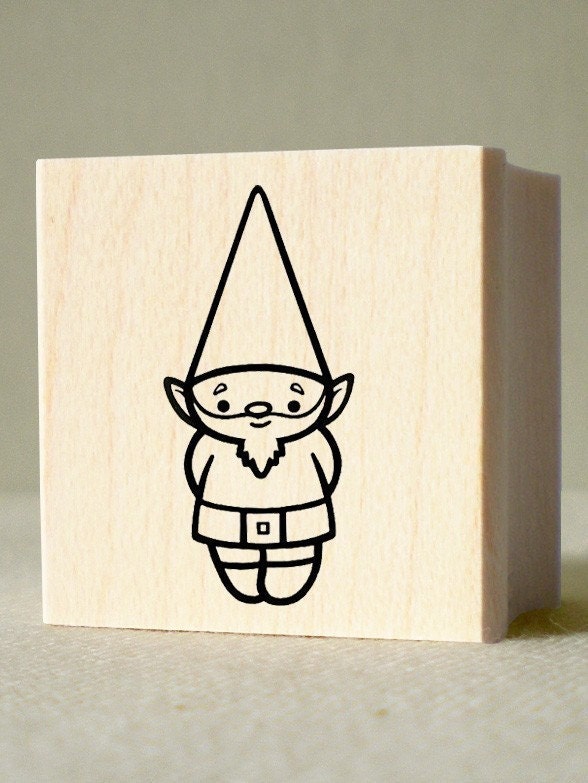
In the spirit of the animated movie "Gnome & Juliet" and the cuteness of garden gnomes here are just a few gnome themed items that I love on Etsy. I say "a few" because there's much more adorable must have gnome items on Etsy. If I could afford it, I would buy every single one. Ya gnome.
by laladexpress
at MultiplePersonality
from PhenomeGNOME
by SerenityMosaics
at TheWishingElephant
at littledear
from cuteandfun
at nikoart
at shaely32
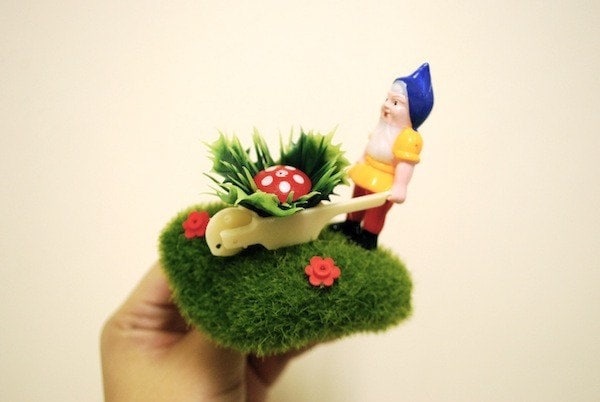
and lastly, this cute little fellow I own
by ohmydeerlove
February 16, 2011
My Valentine Craft Swap Gift
I signed up for a Valentine Craft Swap on Strumpets Crumpets blog and got paired up with Brittany from Miss Yellow Shoes. I went on Brittany’s blog and read it to get a better feel of who she is and what she likes.
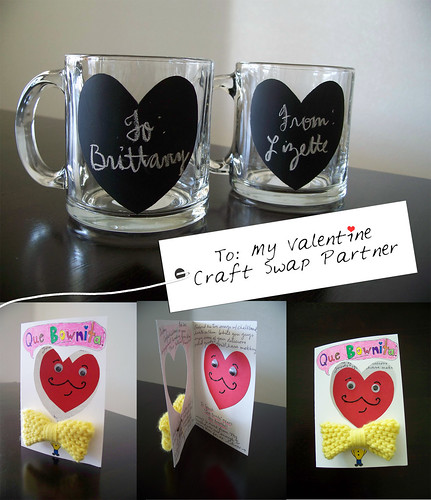
I made Brittany two heart chalkboard mugs one for her and the other for her fiancée since she is newly engaged and crocheted her a yellow bow for her hair, attached to a card. My husband was nice enough to spray the chalkboard paint on the mugs. I used yellow yarn because it’s Brittany’s favorite color. On the card there is a heart, Senior Heart, who is saying “Que Bownita.” Que Bonita means how beautiful in Spanish but I added the w to bonita. Get it? Bow-nita!
Please note that the yellow crochet bow I made was influenced by some bows I had seen on OH MY DEER’s blog.
I’m glad Brittany LOVED her Valentine craft swap gift. You can see how much she loved it by the video below.
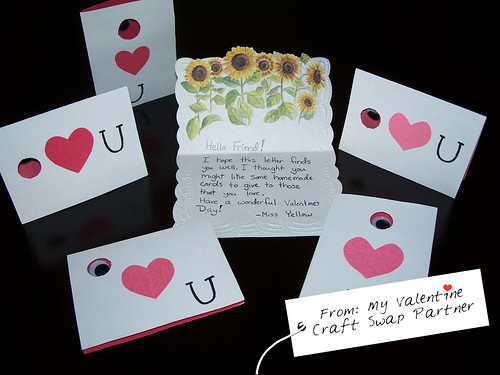
Brittany made me five Eye Love U cards. They are absolutely adorable. They arrived on Valentine’s Day so it was perfect timing.
Below is a video that Brittany made on how to make these Eye Love U cards.
February 14, 2011
The Winner is...
The Winner for the book My Horizontal Life, A Collection of One-Night Stands by Chelsea Handler is...
Congratulations ohmydeer!
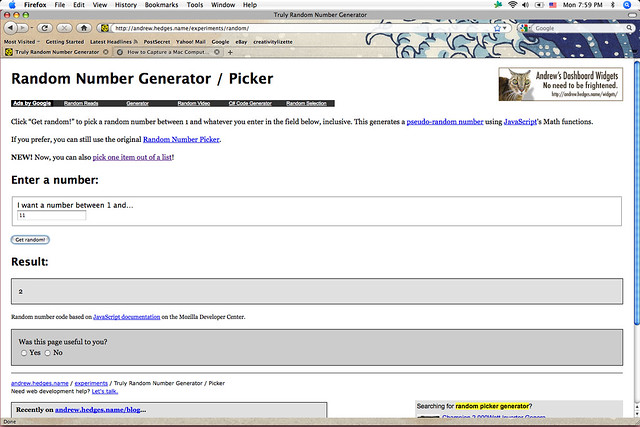
I used a random number generator picker to pick the winner.
May everyone have a Happy Happy Valentine's Day!
February 12, 2011
Gnome Pin for "Gnomeo & Juliet"
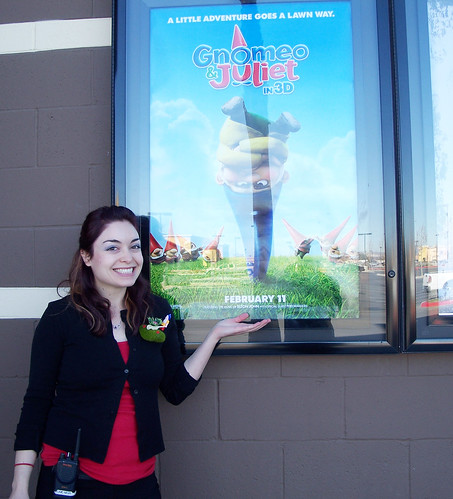
I love wearing pins at work. So, when I saw the trailer for the new animated movie, "Gnome & Juliet" I was thrilled because that meant I could wear my gardening gnome pin I got from OH MY DEER! on Etsy. The cool part is that I got the gnome pin before I even saw the trailer because it was extremely cute and I like to garden. I have a few plants I got from my dad. Any who, here's a picture of me wearing my gnome pin at work in front of the "Gnome & Juliet" poster for Sarah, especially since she posted on her blog about how much she wanted to see the movie, her blog is also named OH MY DEER! Sarah, if you are reading this, I suggest you make more gnome pins. The customers that came to watch, "Gnome & Juliet" thought it was the cutest thing!
I haven't seen the movie yet but I plan to take the kiddos, my little brother, and niece and nephew, when the movie slows down.
Have a wonderful weekend everyone! I know I always try.
Oh and don’t forget to sign up for my book giveaway! Tomorrow is the last day, February 13.
Custom Justin Bieber Pins on Sale
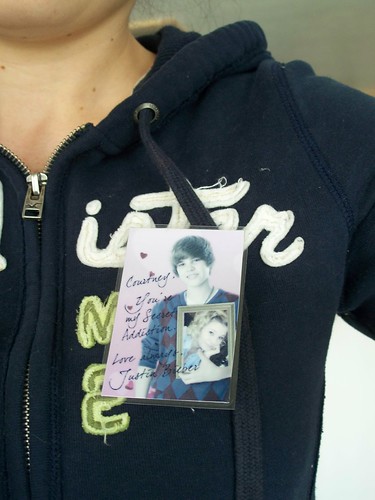
Courtney got so much positive feedback on her custom Justin Bieber pin at work that I had to put one on sale on my Etsy shop. I’m offering an introductory price of $6.95 for the first customer. Hopefully, it will be a big hit and I can add some more to my shop. Wish me luck!
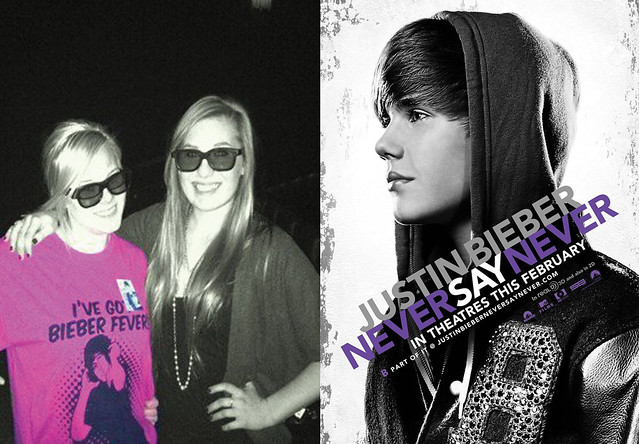
The picture above is of Courtney and her sister at the midnight showing of Justin Bieber’s “Never Say Never.” And, look she’s wearing her pin!
Don’t forget to sign up for my book giveaway! Tomorrow is the last day, February 13.
The picture above is of Courtney and her sister at the midnight showing of Justin Bieber’s “Never Say Never.” And, look she’s wearing her pin!
Don’t forget to sign up for my book giveaway! Tomorrow is the last day, February 13.
February 8, 2011
DIY: How to make a Laminated Pin
Since I was making a laminated pin for Courtney, one of my employees, I took pictures of the process to share it with you guys.
Supplies:
Image,
Laminating Machine
Scissors,
Felt,
Pin back,
Pen/Sharpie
Glue Gun
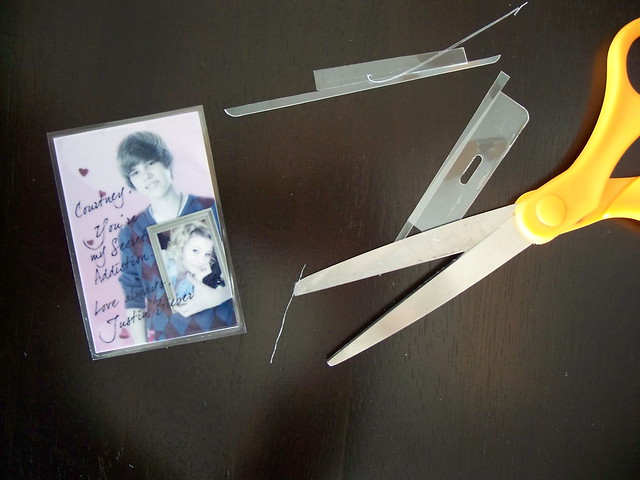
1. Design your image and print it out. My image was 2” x 3”. Don’t use photo paper like I did because the laminating machine will melt the ink off the paper as you can see from the bottom right laminated picture.
2. After you have cut your image go to an office supplies store and get it laminated. I went to Staples.
3. Now, that your image is laminated cut off the excess plastic you don’t want on your pin.
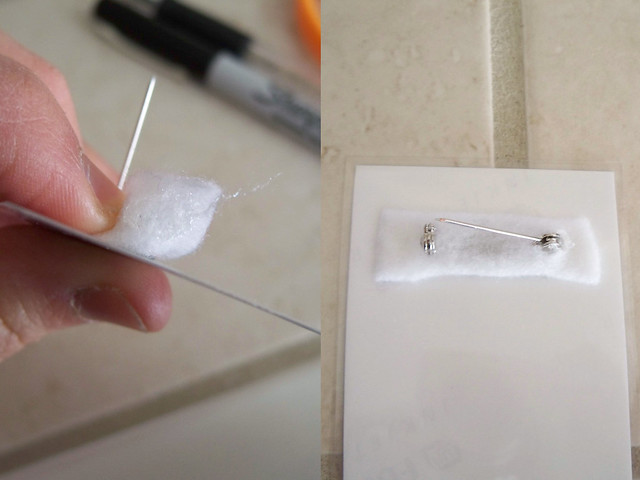
4. Cut a rectangle out of your felt bigger than the pin back as shown in the picture. Place the pin back on your felt and make four marks above and under the last circles of your pin back. Fold your felt horizontally and cut the marks you made vertically, connecting one mark to the other. You should have two small slits. Put this piece aside.
5. Position your pin back behind the laminated image and use a Sharpie to mark the inside of the circles. Remove your pin back, put glue over the marks, grab your pin back (make sure it is open), and press it down onto the glue.
6. Place glue on the top of the circles of your pin back, grad your rectangle piece of felt with the cleaned side (without the marks) facing towards you, and position it over the pin back with the ends of the pin back sticking out through the slits. Clue the ends of the felt for extra support.
7. You’re done! Wear it proudly!
Don’t forget to sign up for my book giveaway; the last day is February 13!
-->
February 6, 2011
Justin Bieber Pin
I must admit that though I currently don’t have kids of my own, but plan to have them soon, I think of my young co-workers almost as my children. Though, they know I mean business when I ask them to do something they also know that I am there when they need someone to talk to. Well, this is how much I like my employees, that I made one of them a custom Justin Bieber pin. Courtney was the employee that got me the mini birthday cake for my birthday and I decided to make her a special pin for her birthday. Courtney loves Justin Bieber and has “a secret addiction” towards him. I put my graphic design skills to use and came up with this.
Courtney knew that I was making her something but I was thrilled on how well it turned out that I already put the image on her facebook wall. I’m bad when it comes to keeping surprises. I printed the image on photo paper and tomorrow I’m going to get it laminated at Staples and clue a pin back on the back. Once the pin is complete, I’ll post a picture.
Courtney knew that I was making her something but I was thrilled on how well it turned out that I already put the image on her facebook wall. I’m bad when it comes to keeping surprises. I printed the image on photo paper and tomorrow I’m going to get it laminated at Staples and clue a pin back on the back. Once the pin is complete, I’ll post a picture.
February 4, 2011
A Very Happy Birthday
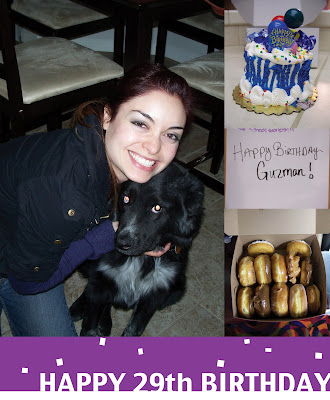
Even though I had to work on my birthday, it turned out to be a very Happy Birthday. I woke up to text messages and birthday calls. My mom sang to me, “Estas son Las Mañanitas” a Mexican birthday morning song that brought tears to my eyes. At work I was surprised with birthday donuts by a coworker and one of my employees got me a mini birthday cake. At home, birthday cards from family and friends waited to be open and my facebook wall was covered with birthday wishes. For dinner, my husband took me to eat all you can eat Sushi. Yummy! This will be my last year being in my twenties but thirties I don’t fear you!
February 1, 2011
Past Birthdays
Tomorrow, I will be turning 29 years old. I can’t believe it. Where did the years ago? Really where did they go! Unfortunately, I have to work tomorrow. Believe me I threw a big hissy fit when I realized that I didn’t request my birthday off, when I thought I did. Oh well, guess I’m going to have to make the best of it. But on a happy note, I would love to share some birthday photos of me as a child when I lived with my parents and didn’t have to work. Ahh, the memories.

1st Photo: Turning One. Look at those cheeks.
2nd Photo: Can’t remember how old I was turning in that picture.
3rd Photo: At Disneyland on my fifth birthday. I was terrified of Goofy.
4th Photo: Birthday party at school. Can’t remember how old I was turning.
5th Photo: Celebrating my thirteenth birthday. I was having a birthday slumber party. My long hair was my trademark for many years.
Subscribe to:
Comments (Atom)

